Pilots Trade Network Elite: Dangerous
This guide is originally from our Discord server, from where it has been reproduced with slight adaptations. You will need to be in our discord server to participate in the booze cruise.
All names with a # in front of them are references to channels on the server, likewise all names with an @ in front of them are referances to roles. You can find this guide in # booze-cruise-guide. Click here to join our Discord server.
All names with a # in front of them are references to channels on the server, likewise all names with an @ in front of them are referances to roles. You can find this guide in #
 booze-cruise-guide. Click here to join our Discord server.
What is the Booze Cruise?
HIP 58832 is located 5k ly above the galactic plane. The view, looking down, is astonishing and unique. HIP 58832 can only be reached with a fleet carrier as most jumps of the journey are beyond the range of even a boosted FSD. The system’s station Rackham’s Peak has no L‑Pads, only M and S‑Pads. This makes the Type‑8 or  Python the most viable cargo ship to trade with that station.
Running a 280t cargo Python leaves the pilot with +72 million per trade. About 14 Pythons full of Wine, and you go from Penniless to Elite Trader. With a T8 that becomes +102 million per trade and 10 trips to get to elite.
Booze Cruise is a bet. There is always the possibility of it not happening, We do our best to predict it as precise as possible. Either way, you won’t get stuck at the peak: 7️⃣ Travelling down on your own from HIP 58832 is always an option.
 on your own from HIP 58832 is always an option.
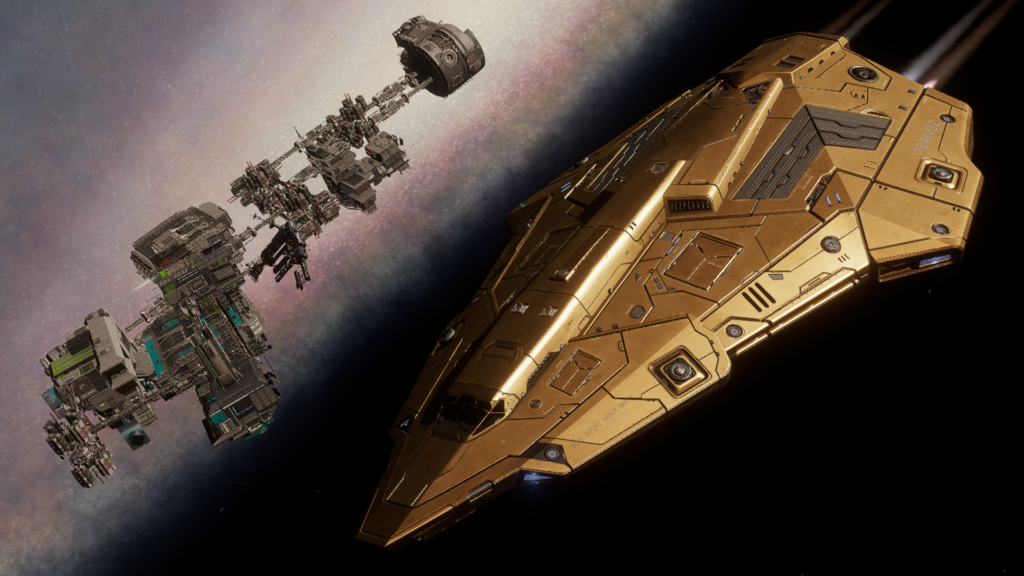


The Type‑8 is only available for Arx, or in Odyssey.
 The Type‑8 is only available for Arx, or in Odyssey.
Overview: A shieldless Type‑8 that relies on speed and armour to survive NPC pirate encounters. Being SCO optimized also makes long supercruise trips much faster.
How do I participate?
The Ship, Type‑8 or Python

Help loading wine  => ( / ) => =
 => (
=> (
Head to #wine-celler-loading to find carriers to fill. The loading discussion happens in #wine-cellar-deliveries.
 wine-celler-loading to find carriers to fill. The loading discussion happens in #
 wine-cellar-deliveries.
Traveling up

Next take your type‑8 or python and hitch a ride on the Snooze Carrier (#booze-snooze-and-garage). It travels up soon after the holiday is confirmed. Making you only miss the 6 to 8 hours it needs to travel up but keeps you available in the bubble until then.

 booze-snooze-and-garage). It travels up soon after the holiday is confirmed. Making you only miss the 6 to 8 hours it needs to travel up but keeps you available in the bubble until then.
Not in HIP 58832 yet
Carriers are likely to park in booze-cruise-departures and ping the @Hitchhiker role. You can opt in to that role in #booze-cruise-signup while you are in need of a transfer. To opt out, just click the button again.
N-2 (HD 104495) 2 systems before the peak, if the peak is already full. As soon as things move, any carriers heading up towards N0 from N2 will post a notice in # booze-cruise-departures and ping the @Hitchhiker role. You can opt in to that role in #
 booze-cruise-signup while you are in need of a transfer. To opt out, just click the button again.
The waiting game


The holiday will then start, lasting for 48 hours. We will ping @PTN Booze Cruise when it starts. Hop in your Type‑8 or Python, buy wine from the carriers in #wine-cellar-unloading and sell it to the station. This is best done in solo mode, as there is only one M pad at the station. Expect to wait for docking NPCs.
 wine-cellar-unloading and sell it to the station. This is best done in solo mode, as there is only one M pad at the station. Expect to wait for docking NPCs.
It is also nice to keep everyone updated by posting the carrier wine totals in #🍸booze-cruise-chat as you are hauling to let everyone know how much wine is left on the carriers.
But how do i get back?
Once everything is over can choose your path back to the bubble via carrier or handcuffs. See Travelling down

Can I advertise wine from my carrier?
Yes! It would be great to have you as a wine carrier.
Wine carriers don’t earn a profit, but instead break even. It’s a great way to pay it forward to newer members in the community. If you’re aiming to earn lots of credits, going as a hauler is the better choice. Being a wine carrier means filling your carrier full with wine and sharing all of it with the community at the peak, helping ensure there’s plenty of profit available for the haulers. You can find more info about what this involves in #🍇wine-carrier-guide.
If it’s your first time as a wine carrier, you’ll get a DM, and then be granted the @Wine Carrier![]() role.
role.
Some things you should be aware of though, before you sign up:
1. Filling a carrier with 22000 t of wine and the 3784 t of Tritium needed for the trip will cost in the region of 484 million credits. Your total cost may differ depending on how much wine you load, which is usually dependent on any services you have installed if you fill your carrier full.
2. However, all of the credits you spend loading your carrier will be recouped when your carrier is unloaded meaning you don’t make any loss or profit overall for being a wine carrier. (For a carrier taking 3784 trit and 22k wine)
3. Jumping a carrier from the bubble to the peak will take you approximately 6 hours, and another 6 hours to return from the peak back to the bubble.
Facts
… about the Booze Cruise!
5. A cargo type‑8 selling to Rackham’s Peak during PH gives a profit of 102 million. (400 t * 256k cr/t)
8. Booze Cruise is a bet. There is always the possibility of it not happening
 Booze Cruise is a bet. There is always the possibility of it not happening
Traveling down 🛬
1. The -way: Take a carrier down. See #booze-cruise-departures (or if unlocked, the #booze-snooze)
 -way: Take a carrier down. See #
 booze-cruise-departures (or if unlocked, the #
 booze-snooze)
FAQs
How to get the NPC off the Medium pad at HIP 58832

Or watch this mini tutorial video made by Dbandy: https://youtu.be/G5qx87K7PHE
What can I do when waiting in HIP 58832 for the cruise to start? 💤
- SRV rally,
- Bounty Hunting,
- Fighter loops of Rackhams Peak,
- Ship racing – wing from carrier to the M pad, first to dock wins,
- Try and get an SRV into orbit,
- Odyssey mat grinding on P2,
- Farm raw mats at planets 1 and 2,
- Find Raxxla,
- Farm encoded emissions for manufactured mats.,
- Farm encoded data by scanning satellite at Rackham’s Peak.,
- Map all planets in system.,
- Courier Jousting,
- Snipe Specious Cobble with a plasma sniper rifle and play football,
- Slide down the side of a steep mountain on foot,
- SRV barrel rolls over ships,
- let a pirate destroy you cockpit canopy and make it back to the FC and repair it before you run out of air. (attention, you have no HUD when the canopy is gone),
- CQC,
- Meet up in the Odyssey station concourse,
- Meet up on foot on any planet that is landable
The SuperCruiseAssist Trick
How to drop faster on the station/carrier
It makes the approach faster and skips the last part of the deceleration phase. If done correctly you’ll be dropping in on the station at high speeds. Sometimes you’ll drop out on the other side of the station (no risk of damage during the drop). Do not do this with bodies, only stations, carriers and nav-beacons. Another name for it is doing a “Hot Drop”.
SCA Trick With Manual Throttle
Set keybinds to throttle 100% and 75% – the quicker you can shuffle between the 2 the better. Set SCA in ship-options to manual throttle.
Activate SCA, point to the destination, use 75% throttle to really activate it and fine-tune the direction. When you are about 5 ls away from the target, set the throttle to 100%. Continue accelerating until your ETA is 5 seconds. Now go back to 75% (= reactivate SC).
SCA Trick With Auto Throttle
Go 100% speed, at 10s to target or earlier let SCA take over. When 5ls away, accelerate to the 100% from before, by aiming away from the target, which deactivates SCA. Then at 5 seconds to destination, back on target for SCA to take over and drop you on the target.
