- 25.8m Cr
- No engineering
- 394 m/s boost
Pilots Trade Network Elite: Dangerous
Combat Builds
Beginner builds: No Engineering
These simple beginners’ builds will work without engineering and can reasonably take on lone NPCs up to Competent level. When a target’s shields are down, subtarget its power plant: once a power plant reaches 0%, subsequent hits have a chance to destroy the target entirely no matter its remaining hull points.
VULTURE //
VULTURE
Unengineered Beginner’s Vulture
Overview: The Vulture is a tough, agile ship that packs a punch. It’s particularly good for learning how and when to use FA OFF manoeuvres. The lack of engineering unfortunately limits the level of targets it can go up against, but with skilful flying it can cope with most NPC ships up to Competent level. With good piloting you may find Large ships the easiest to fight against, as you can often out-manoeuvre their guns.
Strategy: The Vulture is limited by its power plant so use module priorities as linked in the builds to manage your power when weapons are deployed. Prioritise energy weapons (i.e. your pulse laser) vs shields and kinetics (i.e. your multi-cannon) vs armour. When you have spare power in your WEP capacitor and spare ammo to burn, you can use both for more DPS. Use Chaff if you’re being targeted by turreted or gimballed weapons (i.e. any target which is shooting at you while not facing directly at you). Use Heatsinks to reduce your heat signature and make it harder for enemies to target you.
Python //
Python
Unengineered Beginner’s Python
- 231m Cr
- No engineering
- 342 m/s boost
Overview: The Python will feel sluggish compared to a Vulture, but with three large and two medium hardpoints it’s capable of doing a lot of damage to any target it can hit. For its size, it also offers unmatched flexibility for optional internal components. This build uses a Python as most pilots will already have one for hauling, but if you can afford it you can use almost the exact same build with a Krait Mk II. The Krait has one less optional internal slot but can carry a fighter bay, which will improve your DPS if you use an NPC pilot (or a friend!).
Strategy: Use your superior DPS and hitpoints to victimise smaller, weaker ships, but be aware they can out-turn and outrun you. Be wary of anything that matches your weight class. Medium Federal ships are especially dangerous to unengineered Pythons. Make sure to use your Shield Cell Banks (SCBs) with heatsinks whenever your shields get below 50% or so. You can also practice double-banking: use an SCB, wait till your heat reaches 100%, then use a heatsink and another SCB; in this case, you can swap out an HRP for another SCB.
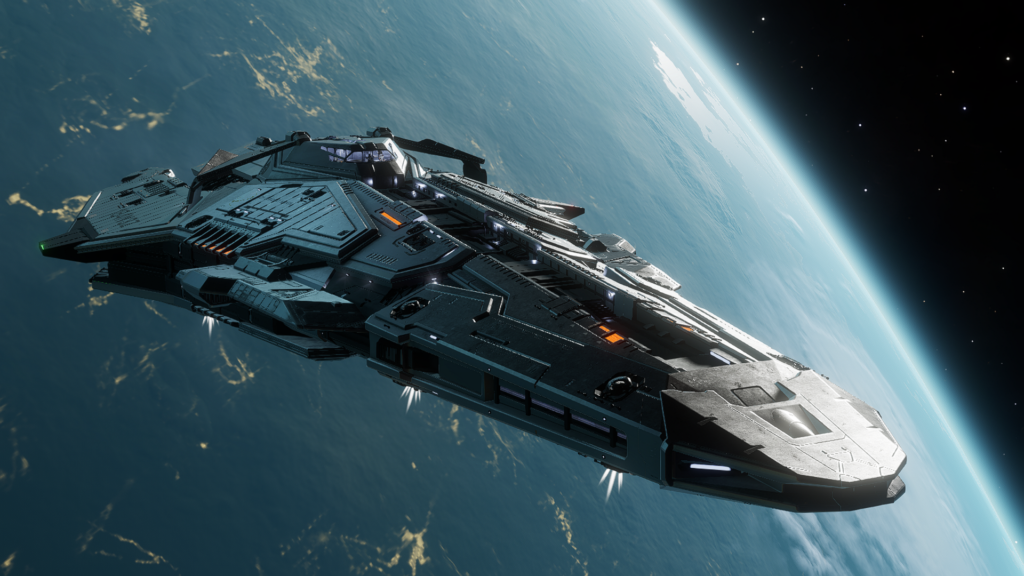
Anaconda //
Anaconda
Unengineered Beginner’s Anaconda
- 443m Cr
- No engineering
- 272 m/s boost
Overview: For pilots who feel bigger is better, the Anaconda is your best choice until you can obtain the rank-locked faction ships (don’t bother with the Type 10 unless you want to dance the Laser Disco). It’s sluggish to fly and your biggest issue will be pointing your guns at your target, but against low-skill NPC opponents you won’t have any trouble either with your damage output or your survivability.
Strategy: Use your superior DPS and hitpoints to victimise smaller, weaker ships, but be aware they can out-turn and outrun you. Launch your fighter before combat begins and remember to assign it to attack your target. Use SCBs with heatsinks before your shields are at risk of breaking – you’ll need to double bank to get the most out of your 3 heatsink launchers. Try switching places with your NPC fighter pilot now and then to build up your piloting skill and aim, and to give yourself a change of pace.
Fighter: You can use any fighter you like, but for maximum DPS and survivability for Dangerous NPC pilots and above, an Imperial Gelid‑F Gu-97 is recommended. It is however recommended to hire NPC pilots at Harmless level and train them up yourself, in which case a Rogue‑G F63 or Taipan may offer better survivability.
Outfitting: You can swap your bulkheads from Lightweight Alloy to Military Grade Composite if you need more survivability. You can try mixing in some turreted weapons if you find it hard to hit your targets with the included gimballed weapons: turret DPS is lower, but hitting the target is more DPS than not hitting!
Engineered Builds: RES/CZ
Designed for endurance, these builds will see you through any RES site or Conflict Zone with ammo to spare. Bi-weave shields are weaker to incoming damage but regenerate much faster, giving you better overall defence for long durations in theatre.
KRAIT Mk II //
Krait Mk II
Beginner’s engineered Krait
- 280m Cr
- Engineered
- 532 m/s boost
Overview: An engineered Krait Mk II is an incredible ship to learn combat in because of its combination of good DPS, high speed, amazing boost uptime for enhanced manoeuvrability, and forgiving power distributor.
Strategy: Prioritise beams vs shields and kinetics vs armour. When you have spare power in your WEP capacitor and spare ammo to burn, you can use both for more DPS. Always deploy your fighter before getting into a fight and set it to attack your target. For dogfighting, boost as often as possible, as the Krait is sluggish in a turn without boosting, but can more or less perma-boost with a fully engineered power distributor and a couple of pips in ENG. If your shields drop, run away and let your fighter distract the target until your shields have regenerated.
Fighter: You can use any fighter you like but, for maximum DPS and survivability for Dangerous NPC pilots and above, an Imperial Gelid‑F Gu-97 is recommended. You can swap the 5D bay for a 6D if you want the ability to immediately redeploy a destroyed fighter, or want a friend to crew with you, but be aware you can’t field two NPC fighters at once.
Engineering priority: Thrusters and PD are the most important things to engineer as they will enable you to avoid most damage. Then engineer your weapons (more DPS = shorter fights), then your shields, and finally anything else.
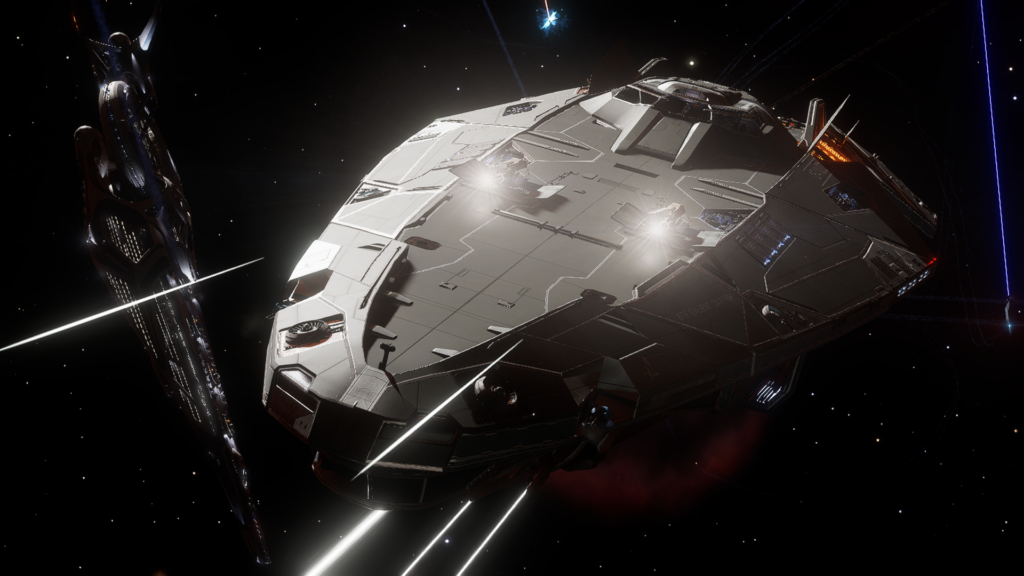
FEDERAL CORVETTE //
Federal Corvette
Beginner’s engineered Corvette
- 943m Cr
- Engineered
- 375 m/s boost
Overview: There is no easier ship for PvE than a Federal Corvette. Against NPC opponents you are more or less unbeatable.
Strategy: Prioritise beams vs shields and kinetics vs armour. When you have spare power in your WEP capacitor and spare ammo to burn, you can use both for more DPS. Always deploy your fighter before getting into a fight and set it to attack your target. The corvette is not fast and will not out-turn many ships, but its survivability and firepower make that largely moot. Start using SCBs with a heatsink or while firing your Thermal Vent beams if your shields drop below 70%.
Fighter: You can use any fighter you like, but for maximum DPS and survivability for Dangerous NPC pilots and above, an Imperial Gelid‑F Gu-97 is recommended.
Notes: Turn off the two lower class SCBs until the higher class ones are depleted, otherwise you won’t have enough power. Alternatively you can swap them out for a Guardian Frame Shift Booster and Fuel Scoop respectively if operating away from a Fleet Carrier – in which case set their power priority to “5”. For weapons, this build provides a nice balance of kinetic vs thermal damage, but you can swap the class 4 beam for a multi-cannon and the class 3 multi-cannon for a beam if desired.
Engineering priority: Focus on your Power Distributor and weapons first, then shields and engines.
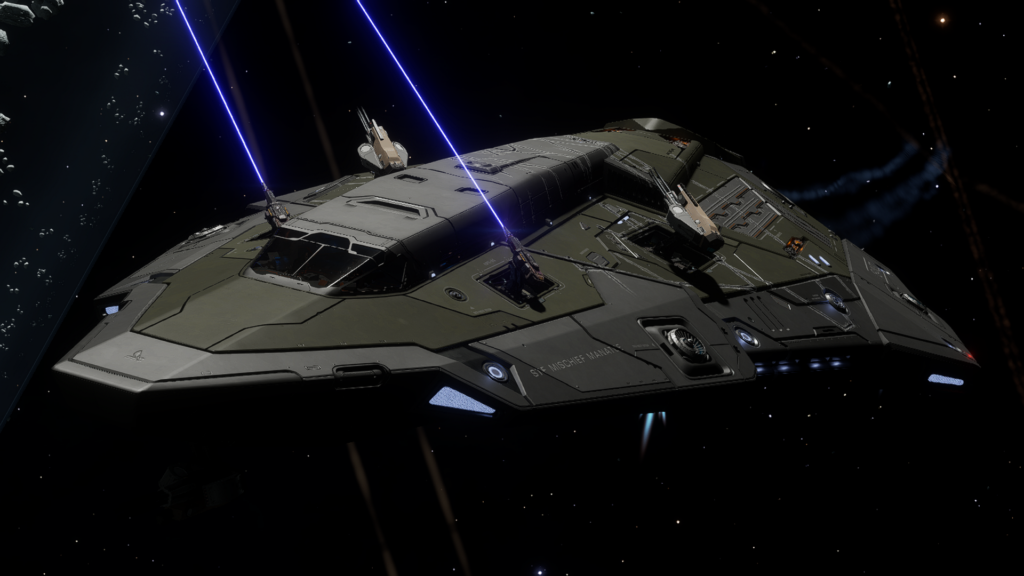
FEDERAL GUNSHIP //
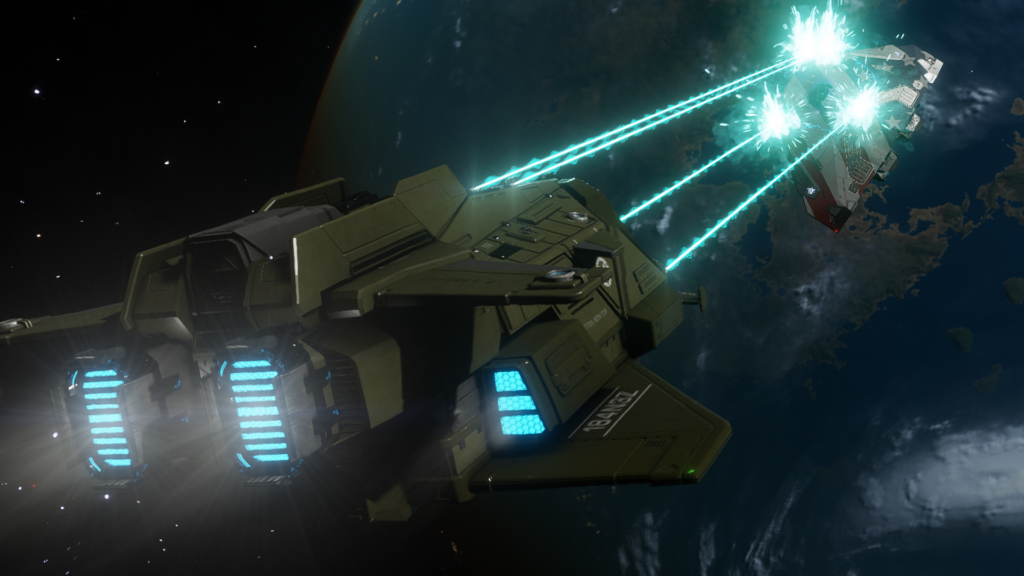
Federal Gunship
Wing Support Gunship
- 177m Cr
- Engineered
- 420 m/s boost
Overview: A fun build for supporting a wing of fellow players with powerful shield restoration, repairs and/or fuel top-ups.
Strategy: Assign all of your “heal beams” (i.e. the ones with regeneration sequence and concordant sequence) to a single fire button and use them on your teammates whenever their shields start to dip; you may find it helpful to bind keys in the control menu to target each wingmate directly. When not “healing”, turn your weapons on the enemy instead – but don’t draw too much attention, as you can’t heal yourself!
Fighter: You can use any fighter you like, but for maximum DPS and survivability for Dangerous NPC pilots and above, an Imperial Gelid‑F Gu-97 is recommended.
Outfitting: The core of this build is healing, but other weapons can be anything you want. For example, an alternative would be to use two class 1 efficient pulse turrets with Scramble Spectrum and Emissive Munitions, and make all the heal beams class 2. If you don’t have access to GSRPs, use SCBs or HRPs/MRPs as you prefer.
Limpets: A limpet controller is optional, but you can equip whichever you prefer – repair, refuel, or even Rescue multi-limpets. Just remember to bring some limpets along in cargo if you plan to use them.
Engineering priority: This build requires the experimental effects on its beam weapons in order to fulfil its basic function. Assuming you’re using it in a Wing, everything else is optional.
Assassination Builds
These builds prioritise high burst damage and short-term survivability, making them suitable for assassination/wing assassination missions, high threat “Pirate Activity Detected” instances, or any situation where running out of ammo isn’t a concern. Note: with A‑class or Prismatic shields, if you can run away far enough, you can use the REBOOT/REPAIR option in the right hand panel to restore your shields to 50% if they drop completely, so long as Flight Assist is on and you are not being hit by hostile fire. (This is not recommended in any situation where you are the only target.)
ALLIANCE CHIEFTAIN //
Alliance Chieftain
Fragtain
- 110m Cr
- Engineered
- 540 m/s boost
Overview: A fast, agile dogfighter with good burst damage, but highly dependent on its agility for survival. Not recommended solo vs multiple targets.
Strategy: Get in close and hammer the target with your frag cannons until it explodes. Your goal is simple: kill it before it kills you. Your bi-weaves will serve you well if you’re able to use the Chieftain’s manoeuvrability to minimise incoming fire. Your Drag Munitions Frag Cannon and your Chaff Launcher will help with this.
Outfitting notes: Gimbals or fixed are up to you. Gimbals offer more time on target but are vulnerable to chaff. Fixed offers higher damage per hit, but require more precise aim and better orientation towards your target. You can swap the experimentals on the frags for Screening Shell if you have high time on target and want a faster reload speed.
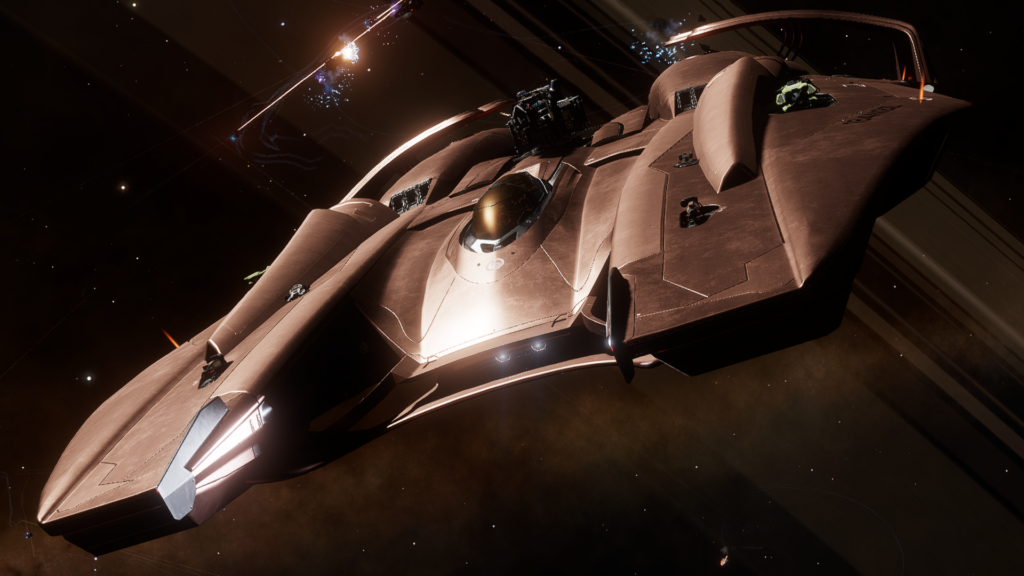
Fer-De-Lance //
Fer-De-Lance
SkillDL
- 221m Cr
- Engineered
- 553 m/s boost
Overview: The FDL is the king of PvP, and this is essentially a PvE adaptation of the meta PvP build. You need to be able to aim fixed weapons to use this effectively, but if you can it’s a lot of fun and offers good damage and flexibility.
Strategy: The FDL takes some practice to fly but is fast, agile, and a lot of fun. It also packs great damage and very high shielding. Make good use of FA OFF techniques to compensate for drift and stay close to your target. Prioritise getting in close for your PAs, and be aware of convergence (i.e. notice that your shots from guns in different hardpoints end up in slightly different places, and orient yourself accordingly. You may find the Elite Dangerous Ship Anatomy site helpful for convergence issues). Feel free to use your rails as you close but prioritise getting oriented for your PA shots – otherwise, use your rails to interrupt enemy SCB use.
Outfitting notes: You can swap the rail guns to short-range rails if you’re confident of your ability to stay close to a target, but it does cost you flexibility and the ability to deal damage at range. Alternatively, you can swap all experimentals to Plasma Slug to make it suitable for longer engagements – but remember to pack a fuel tank! If you decide to go for a Prismatic shield you’ll need to overcharge the Power Plant, in which case go with a full suite of Shield Boosters and ditch the SCB for a GSRP.
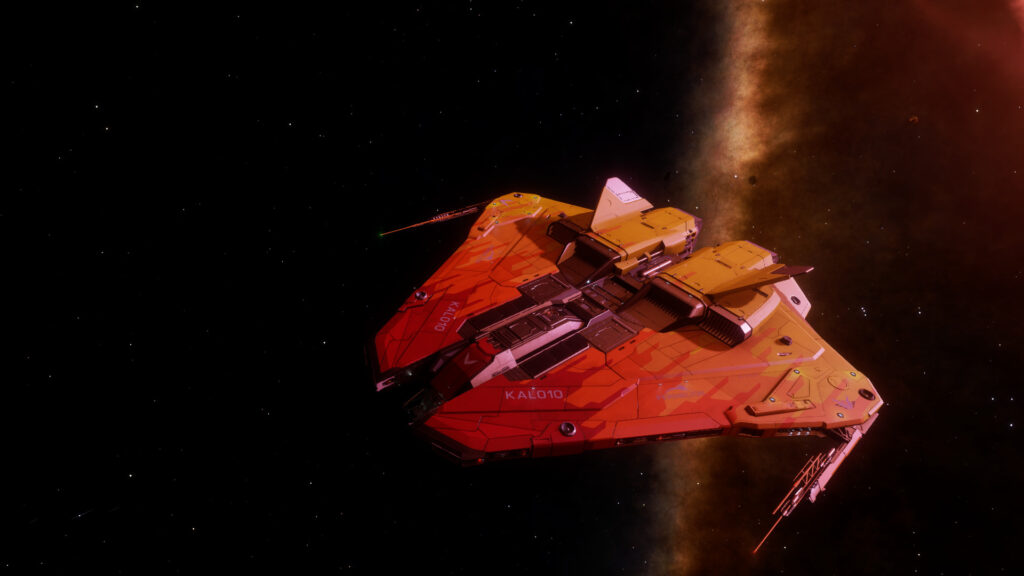
MAMBA //
Mamba
Fragccelerator
- 234m Cr
- Engineered
- 595 m/s boost
Overview: A fun ship to fly and capable of incredible burst damage, but requires a fair bit of practice to use well. Good for Wing Assassination missions as its speed, high burst damage and high shields allow it to avoid most incoming fire while still applying damage to the target.
Strategy: The Mamba is not a great turn fighter and takes a lot of practice to dogfight with successfully. Instead it’s most at home as a jousting ship, focused on dealing lots of damage in a single pass, then using its 600m/s boost to get out of range to avoid incoming fire before turning around and making another pass. This is true even against Large ships, though it can usually afford to hang in a fight for longer before boosting away as it will take longer for Large ships to catch you in a turn. Judicious use of scoop-boosting and careful pip control can make it a monster dogfighter able to defeat even small ships in CQC.
Outfitting notes: You can use a regular A‑class shield instead of a Prismatic if necessary. Beginner pilots may prefer an extra Class 3 Frag Cannon in the Huge slot as it eliminates the need to aim the PA. Gimballed weapons are a must for this build owing to poor hardpoint convergence. You can swap the Power Plant engineering for Armoured if you prefer, in which case drop one of the Heavy Duty shield generators for Chaff or a Heatsink. If you go with Overcharged, there’s no need to engineer it past 35% of grade 3. Also, don’t fight with your shields down – instead, run away and perform a reboot to restore 50% of your shields.
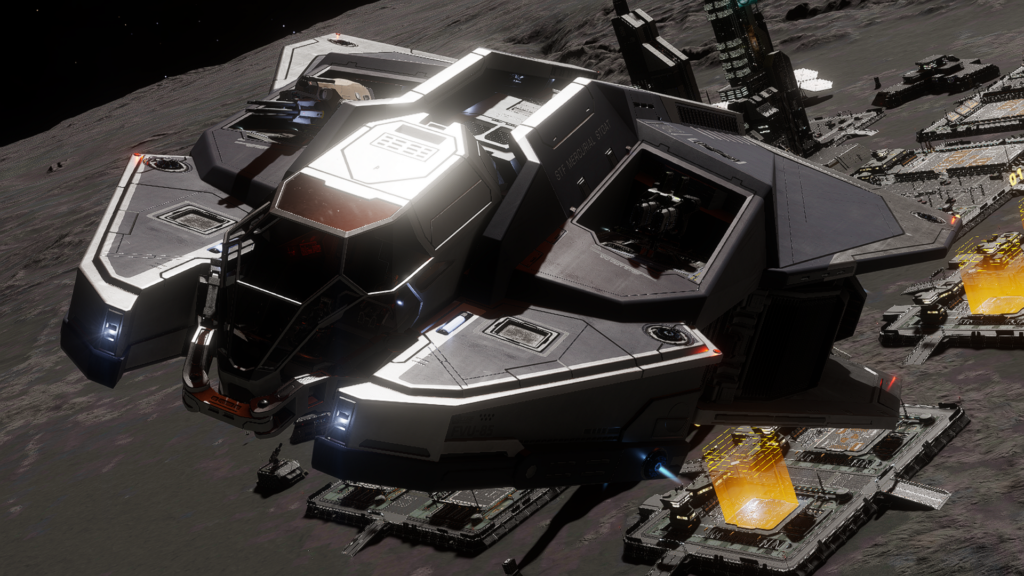
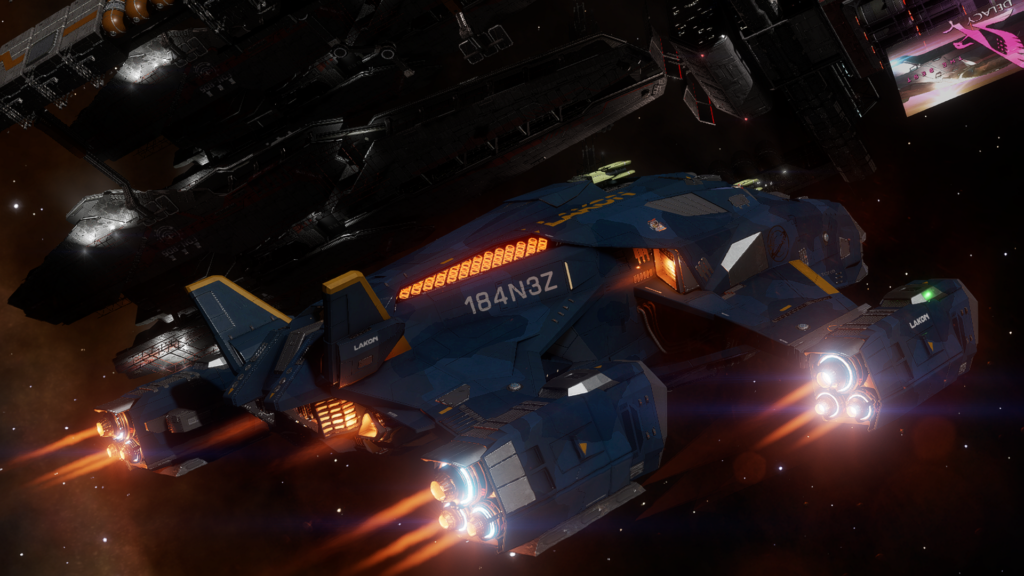
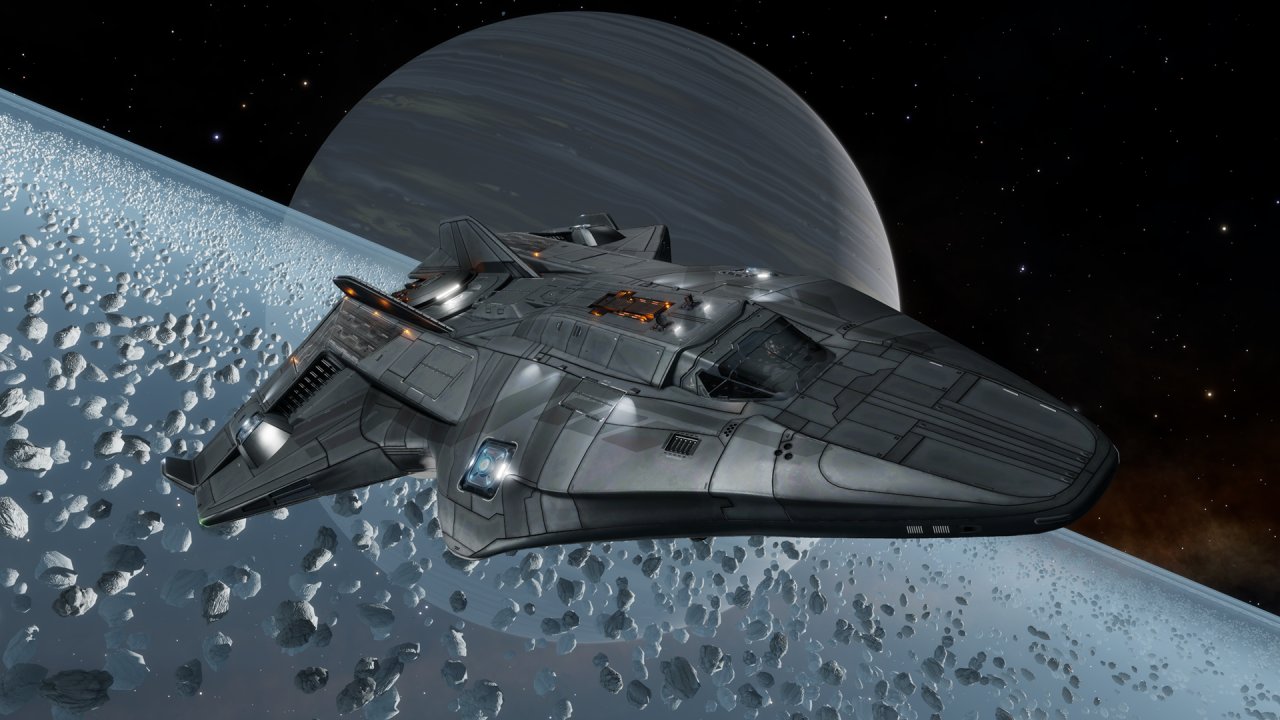
IMPERIAL CUTTER //
IMPERIAL CUTTER
The Imperial Missile Battery
- 1420m Cr
- Engineered
- 352 m/s boost
Overview: Designed in partnership with Sirius Corporation, the Imperial Missile Battery is a custom-fit Cutter capable of hunting down and eliminating pirates and other undesirables with minimal fuss. State-of-the-art packhound ‘drunk missiles’ are launched several dozen a second, eliminating all but the most well-equipped criminals in moments. It can get toasty in there pilots, so feel free to eject your active heatsink and enjoy a drink from the included bar.
Strategy: Find a small to medium ship, take aim, fire a volley and move on to the next target. A CMDR that aims appropriately should be able to delete ~7 small or ~3 medium sized ships before going for a restock. When fighting pirate assasination mission targets, it is recommended to ram the shields down first.
A creation of CMDR Hellpyre.
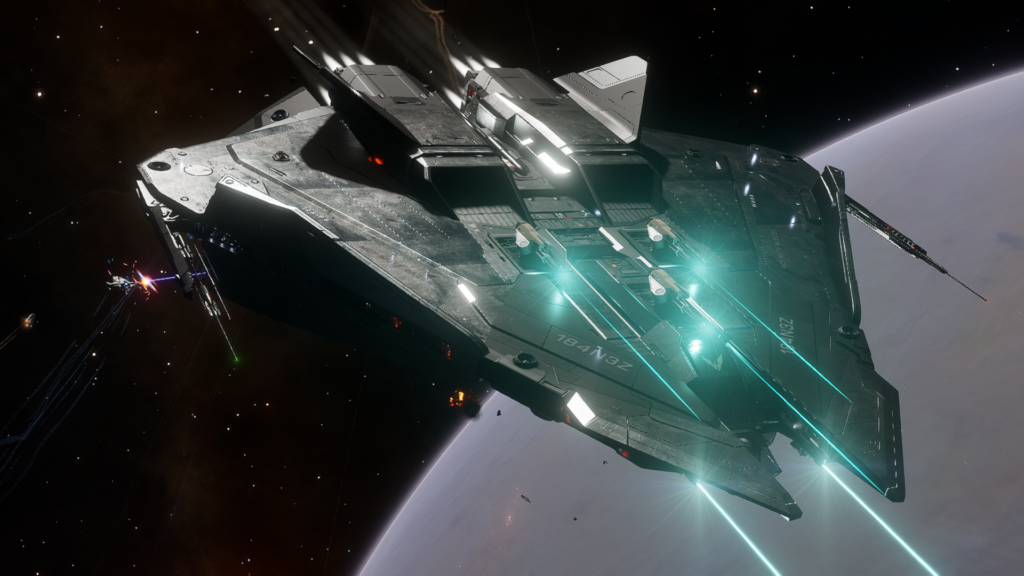
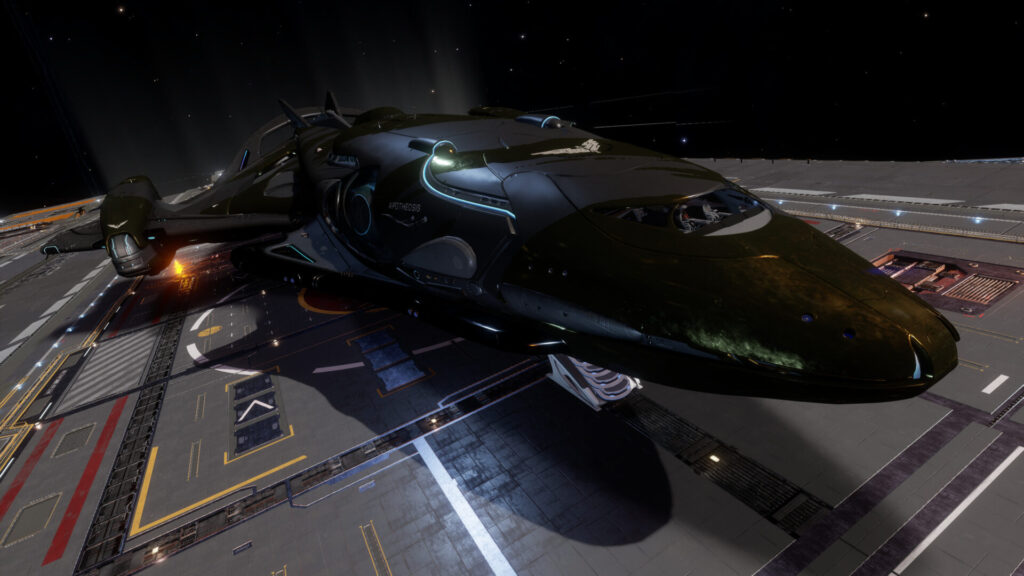
Python MKII //
PYTHON MKII
Freight Train MK II
- 268m Cr
- Engineered
- 550 m/s boost
⚠️The Python MkII is only avaible for arx or in Odyssey.
From the same crazy engineer who created a Federal Gunship that earned the nickname Freight Train (Can’t turn worth a damn, but if it hits you.……) comes an improved iteration which carries on the name and the firepower of the original; but without the manoeuvrability drawbacks.
6 fixed weapons on a single trigger pull ensures your enemies know what it is like to be hit by a runaway freight train. The 4x PAs and 2x Cannons are velocity matched and will all hit a single target. Force shell experimental on the cannons guarantees laughs, while the PA experimentals wreck havoc with the systems of your enemy’s ship, blinding sensors & scrambling gimbals. Shields have survived multiple 8v1s and full HCZs; you’ll likely run out of ammo around when the shields drop.
A ship slightly held back by its poor powerplant and distributor, it is nonetheless extremely fun to fly, deleting most NPCs in a couple of trigger pulls.
PVP Builds
These builds are designed for encounters with other players. Combat between player CMDRs follows different laws than one would encounter when fighting NPCs; while these builds may also be viable in PvE encounters, they are built around a PvP use case.
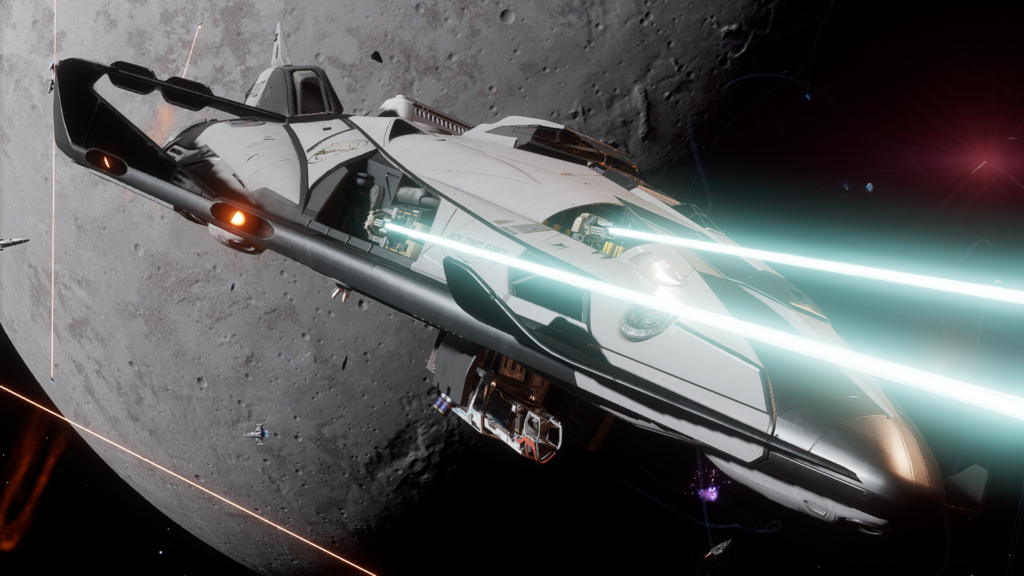
Krait MK II //
Krait MK II
Piracy Krait
- 255m Cr
- Engineered
- 527 m/s boost
Purchased from discreet black-market dealers in Archon Delaine space, this take on the powerful Krait Mk. 2 ship is capable of engaging unprepared transport vessels and liberating goods before a system authority response vessel can be mobilized. The flechette launchers allow it to bypass many of the traditional defensive measures used by trade vessels to buy time for their escape. The addition of three plasma accelerators means the ship can provide a threat profile that is difficult for ships optimised for mining or cargo transport to disregard.
A creation of CMDR Hellpyre.