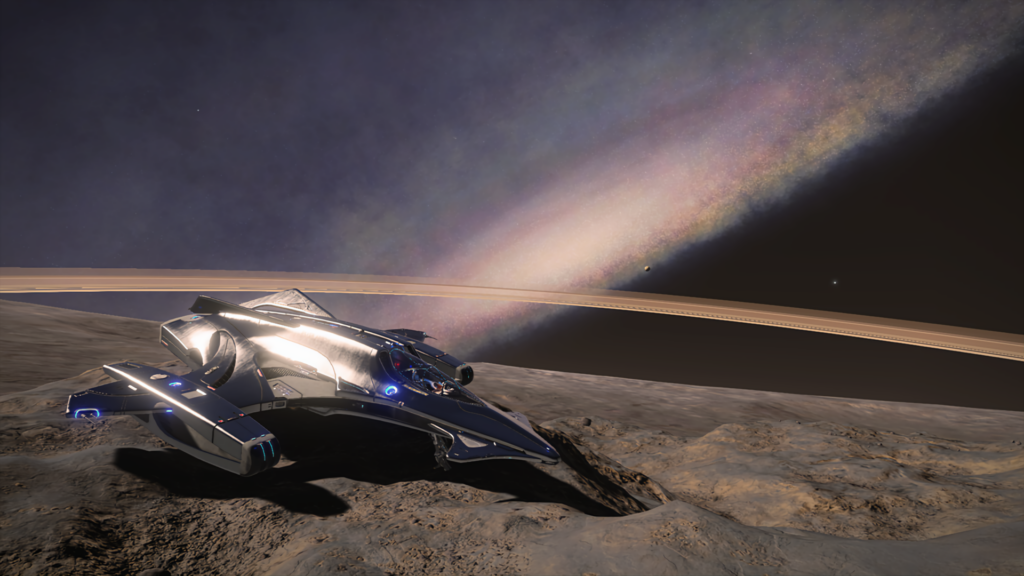
- 400k Cr
- No engineering
- 318 m/s boost
- 27.37 / 33.67 ly (see notes)
Pilots Trade Network Elite: Dangerous
Exploration Builds
Introduction to Exploration builds
PTN’s Community Team often run exploration events, usually centred around a Fleet Carrier expedition. These are great opportunities to get out into the black with some friends and support and see what exploration is like. Any of the builds below will enable you to take part in these events! If you’re interested in the nitty gritty, here are some things to consider when choosing your build, and the amount of money and engineering effort you want to put in. For a more complete guide, check out EDAstro.
Jump range: Helps you get further from the Bubble and into uncharted space, but also helps in areas of the galaxy where stars are further apart. It’s possible to explore close to home with a low jump range, but the longer your jump range, the more options open up to you, and the faster you can reach them. There are three ways to boost jump range: keeping your ship as light as possible, engineering your FSD, and using a Guardian Frame Shift Drive Booster.
Guardian FSD Booster: Unlocked by collecting specific items from Guardian ruins. A guide to all Guardian unlocks can be found on CMDRs Toolbox. The PTN Community Team runs regular carrier taxi services to Guardian ruins sites to help CMDRs unlock their Guardian modules.
Engineering: The most important engineer for exploration is Felicity Farseer: She’s the first engineer you can unlock and can engineer your FSD to maximum, as well as various grades on a few other useful modules. However, it’s now possible to buy a fully-engineered class 5 FSD from Human Tech Brokers using engineering materials: for ships that take a class 5 FSD, this is the superior option as it has higher range than a standard FSD and costs less in materials to buy than to engineer from scratch. Just make sure to get Felicity to put the Mass Manager experimental effect on it.
Fuel Scoop: A must for any exploration build, they don’t weigh anything and can be turned off when not in use. They can be expensive, but it’s always worth packing the largest (i.e. highest number) and best rated (i.e. A‑rated if possible) you can afford (and fit).
Detailed Surface Scanner (DSS): Allows you to scan planets for extra credits and to discover planetary features. The pre engineered DSS-V1 unlocked at a Human Tech Broker is even better than any engineered DSS.
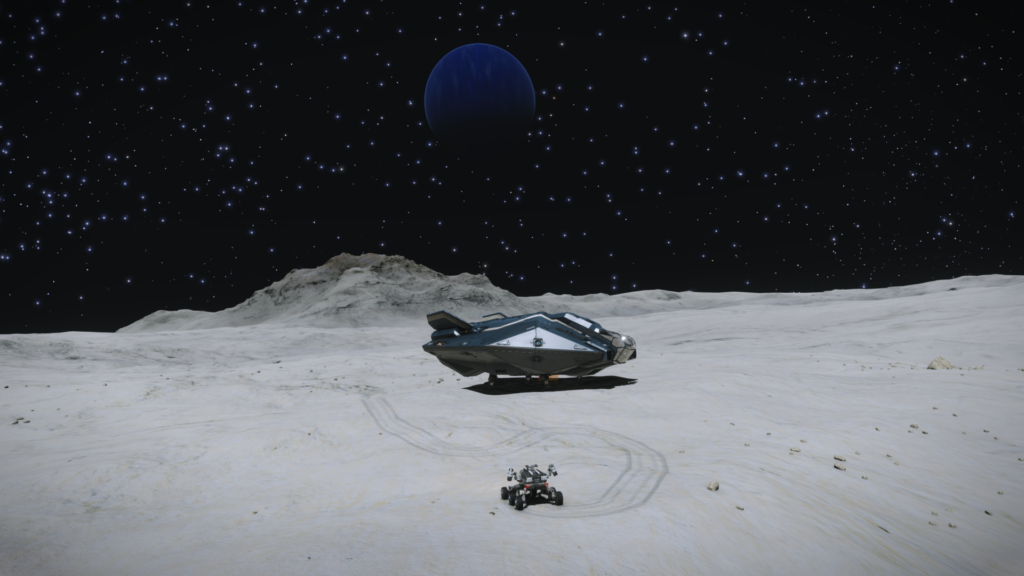
SRV bay: The only way to explore a planet’s surface with the base game. Also useful in Odyssey if you plan on landing on planet surfaces.
Repair Limpets/AFMUs: Useful for longer journeys, neutron boosting, and peace of mind. AFMUs are essentially “free” if you have a spare slot as you can turn them off to save power and they don’t weigh anything. Repair limpets require some cargo space to use, which means you need to have at least one cargo rack on board – but if you have the materials (or a way to gather them such as an SRV or Mining Laser), you can synthesise them when needed rather than carrying them all the time.
Flight Assists: Flight assists are less important while exploring as there are far fewer opportunities to use them, so many exploration builds that are short on space (or power) don’t take them.
Ship Launched Fighters (SLFs): A fun toy to play with when you’re thousands of light years from civilisation, but only available on the largest ships and cost a lot of range because of their weight.
Point Defence: For exploring Guardian ruins specifically, a point defence is useful as it will help shoot down seeker drone missiles. However, standard exploration builds usually skip these.
Module priority: It’s common to disable power to modules that are only needed on an occasional basis to allow the use of smaller (and thus lighter) power plants.
You don’t need any of the above to explore (except a Fuel Scoop – you kind of do need a fuel scoop!), but they’re all helpful options to increase your range, capability and fun-factor for exploration.
Starter Explorers
You don’t need any engineering, or even a Guardian FSD Booster, to get started with exploration. These ships will happily take you into the unknown even if you’re fresh out of the starter area. Stay close to the Bubble and return frequently to sell your exploration data. Consider unlocking Felicity Farseer and the pre-engineered FSD from human tech brokers when you can, as they’re the simplest ways to increase your range and thus possibilities.
Hauler //

Hauler
Explohauler
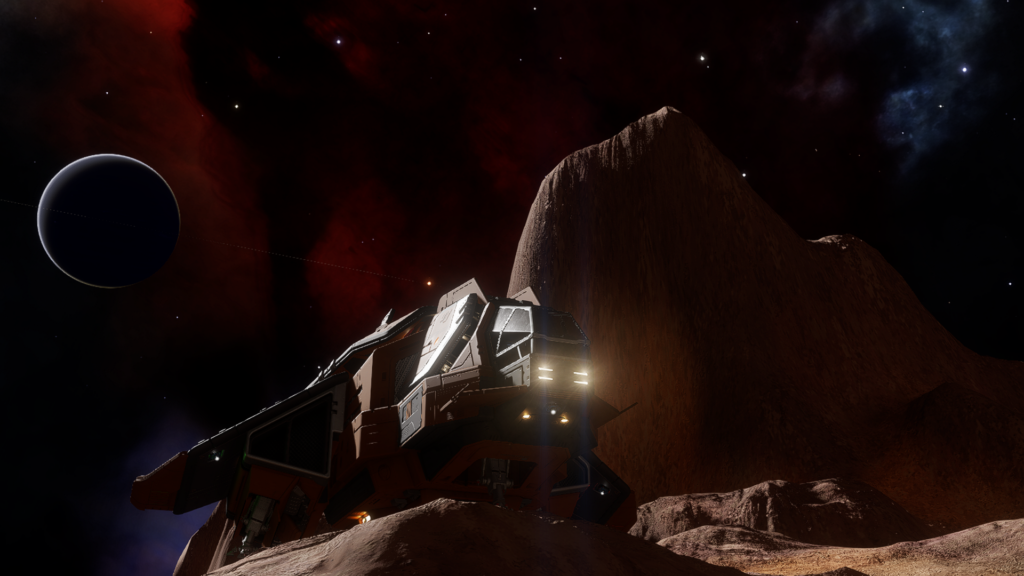
Overview: No, you didn’t misread this! If you’ve just started playing and don’t have any money or engineering, the humble Hauler is the best option available to dip your toes in the exploration ocean. All you need is 350k (as in, thousand) credits, which you can easily gain in your starting Sidewinder in just a few hours.
With this build it’s recommended to explore within or near the confines of the Bubble, but there are still plenty of places to go. To save for something better, we recommend our various Guides to making credits in a way which is fast and (fairly) fun, or you could try the Road 2 Riches and earn your next ship with Cartography data from exploring.
Outfitting: You can remove the SRV bay to gain an extra 6 lightyears jump distance if you feel you don’t need it.
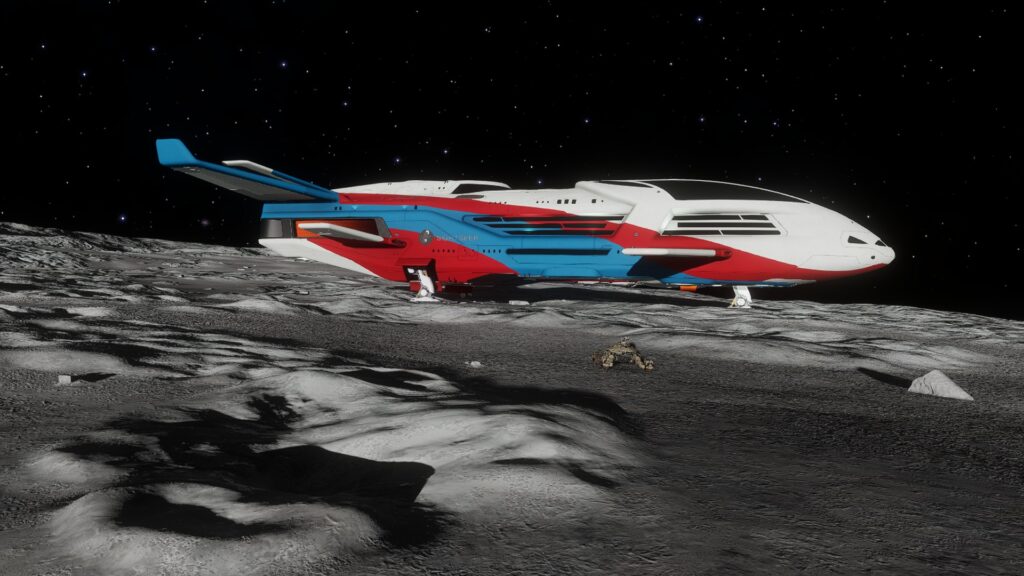
Diamondback Explorer //
Diamondback Explorer
DBXPedition
- 12m Cr
- No engineering
- 335 m/s boost
- 39.52 ly
Overview: The first “dedicated” explorer most players will have access to, the Diamondback Explorer is a fine explorer and many CMDRs will remain in one for the rest of their exploration careers, upgrading it with engineering and guardian modules as they go. It’s main downside is its limited internal space.
Outfitting: This is the first ship that allows you to reasonably fit repair limpets. The cargo rack is so you have space to carry (or better, synthesise) limpets to use with the controller!
Asp Explorer //
Asp Explorer
ASP TO GO IN FRONT OF THINGS
- 22m Cr
- No engineering
- 357 m/s boost
- 46.17 ly
Overview: The ASP Explorer is a nice upgrade to the Diamondback Explorer as it has more internal space and a longer jump range. It turns slightly slower in super cruise but still handles well, and many CMDRs regard the view from its cockpit as unrivalled.
Asp Explorer //
Asp Explorer
Karto’s “Technically Not Engineered” AspX
- 50m Cr
- No engineering
- 357 m/s boost
- 65.71 ly
Overview: While technically this does have an engineered module, it’s purchased from a Human Tech Broker using engineering materials and doesn’t actually require any engineer unlocks or engineering rolls. Combine it with a Guardian FSD Booster (see intro or here) and you have a ship with impressive jumprange with minimal investment in upgrades. Also makes a great Bubble taxi before having engineer access! Unlocking the pre engineered Detailed Surface Scanner is just a bonus that is more than worth it (you can move the DSS to any other ship instead). The Preengineered DSS-V1 is better than any engineered DSS!
The 3E Cargo rack is not essential to this build. While useful to have for guardian unlocks and the like, it can also be exchanged for a second SRV bay. For long range exploration and supercharging the FSD on neutron stars, a 3A AFMU (unpowered while not needed) can be outfitted in it’s place.
Long-Range Explorers
A long-range exploration ship is a very personal tool. It’s something you will potentially spend weeks or even months in, alone in the vastness of space. For that reason long-range exploration builds are very personal and it’s hard to recommend specific builds.
Below we have included a few “Signature” builds from members of the PTN Community Team to give you some inspiration.
For a thorough guide on building your own exploration ship, check out Elite:Dangerous Astrometrics comprehensive rundown.
Diamondback Explorer //
Diamondback Explorer
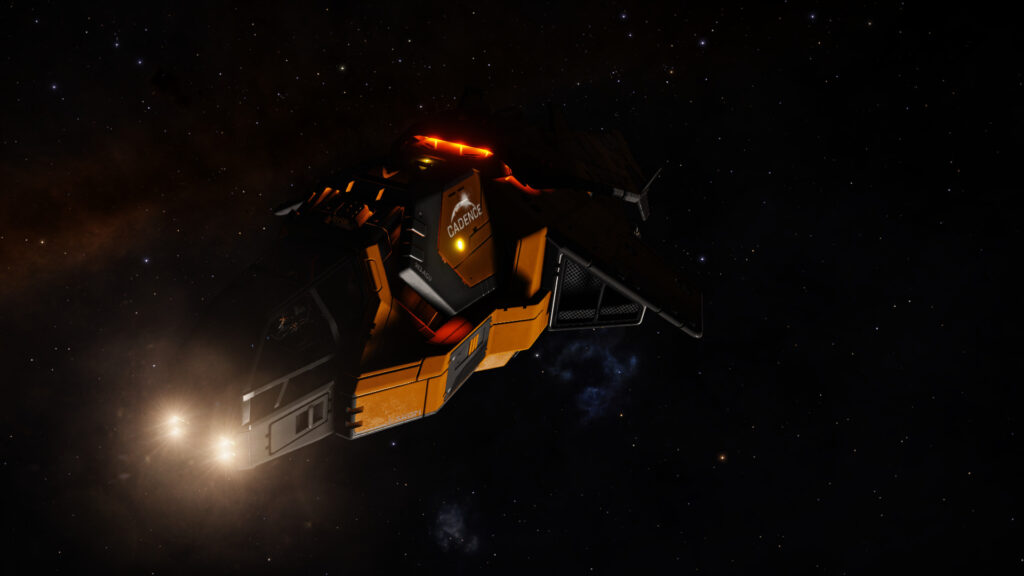
“Cadence” by Sihmm
- 15.7m Cr
- Engineered
- 477 m/s boost
- 73.69 ly
Sihmm’s overview: I started out not liking the DBX very much, but actually flying one slowly changed my mind. I originally designed this for comparatively short-range expeditions – Guardian Ruins unlocks, or materials farming – owing to its small size making landing easier and its low cost making rebuys less painful. I’ve kept upgrading it over the years and now I’m actually quite fond of it.
Imperial Courier //
Imperial Courier
“Silver Arrow” by KingDeDeReee
- 13.9m Cr
- Engineered
- 845 m/s boost
- 47.80 ly
King’s overview: The Courier is my favourite small ship so I said to myself it was time to build one for exploration and throw it in a canyon of a planet in an unknown system near Sagittarius A. Having “low” jump range and small fuel scoop the ship can be painful if you want to start your journey from the Bubble but excels when the star density increases like in the galactic Core or the regions nearby (be careful to not go too far up or down the galactic plane as the small fuel tank could cause some problems).
For the price of only 13.8m (less if you got it free in a CG or with the Winking Cat event) and the rank of Master of the Imperial Navy, you get one of, if not the fastest ship capable of 40LY+ and on top of that you have an amazing cockpit view and a gorgeous looking ship.
To achieve this speed I used Enhanced 3A thrusters (Dirty-Drive Distributors) that can be bought at engineers like Farseer and Palin. This helps with high gravity planets, navigating planets’ surface and it allows the bored commander to take a break and do some crazy manoeuvres in canyons or asteroid fields. Just so you don’t risk your exploration data doing that, the ship is equipped with a 2A shield to help with light bumps (Low Power to keep weight and power draw down). Note that the Life Support is engineered for G5 lightweight but it isn’t really necessary, as D rating it is enough to achieve good results.
Being an exploration ship it is also equipped with the basics for the role: Guardian FSD Booster, Hangar for the SRV, 2 small AFMUs to repair the FSD in case you use Neutron/White Dwarf cones and of course, an Heat Sink Launcher (you can engineer it to have more ammo).
This ship and loadout also works great for exobiology focused exploration.
Dolphin //
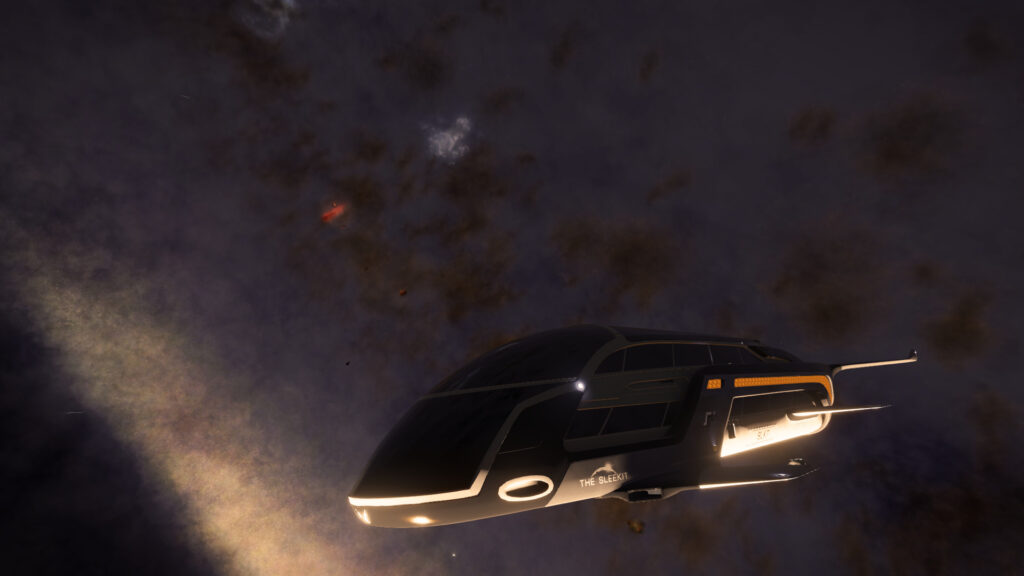
Dolphin
“Sleekit” by Dthen
- 23.8m Cr
- Engineered
- 591 m/s boost
- 59.17 ly
Dthen’s overview: The dolphin goes fast and far for how luxurious and stylish it is. It’s surprisingly well suited to travelling distances both long and short, with just enough room for internal components. It’s cheap, too. This is my build, but I wouldn’t actually recommend anyone engineer the AFMUs and everyone always tells me the rail guns are silly. It’s just so much fun to fly.
Asp Explorer //
Asp Explorer
“The Road Less Traveled” by AJTP89
- 50m Cr
- Engineered
- 414 m/s boost
- 70.34 ly
AJ’s overview: The AspX only gets better with engineering (and a little power management). More powerful yet cooler power plant, tuned thrusters, and enhanced distributor means you can hit 70 ly while never overheating. And it’s got all the features you need. AFMU keeps you neutron jumping, 6A fuel scoop so you’re topped off before your FSD charges again, two SRVs because accidents happen, shields for those rough landings, and enough umph in the thrusters to get off that high G planet. It’s the perfect ship to find a view worthy of that canopy!
Krait Phantom //
Krait Phantom
“Rhapsody” by Sihmm
- 90m Cr
- Engineered
- 427 m/s boost
- 71.12 ly
Sihmm’s overview: There’s something about the Krait Phantom which just hits the sweet spot for me in terms of size, performance and looks. The view from the canopy is almost as good as the Lakon ships and I don’t feel like I’m having to leave anything behind when I take the Phantom out. When I’m in or close to the Bubble, I swap the repair limpet and cargo rack for Assist modules.
The Krait Phantom in general but also especially this build is also great for exobiology due to it’s entrance right below the cockpit.
Beluga //
Beluga
“Sightseer” by Platinum Band
- 268m Cr
- Lightly engineered
- 393 m/s boost
- 51.62 ly
Plat’s overview: This build requires minimum engineering to run as it only requires Overcharge Grade 1 on the power plant to run all modules without turning anything off. It is recommended however to at least do full Grade 5 FSD engineering for Increased Range, and ensure you use the Mass Manager experimental effect to get the best range out of this luxury liner that is the top 1% of all liners. This ship is also equipped with a 5H Guardian FSD Booster to get that extra range as well. This ship does however have a rather strong 6A Shield Generator however do be careful with those high G planet approaches as even sometimes her shield cannot survive being slapped into the planet. To help with those shields she is equipped with not 1 but 2, 3A Shield Cell Banks for those emergencies to recover some shields from accidental collisions.
With a 4G Planetary Vehicle Hanger you can carry with you 2 SRVs of your choice for those planetfalls and first discoveries. This ship does need a large landing area to put down, and due to slot limitations she can only carry a 6A Fuel Scoop which means she can take some time to refill her 128t fuel tank. But on the flip side she can go 10 jumps before needing to be refuelled. The thruster engineering is purely optional but can be very nifty for those planet approaches to reduce that fall speed. This ship is very well rounded for a ship for exploration.
So all in all here is a quick pros and cons of this ship:
Pros: Can commit 10 jumps before needing to be refuelled, has fairly good jump range for her size, requires very minimal engineering to operate, and is beautiful in everything she does.
Cons: Due to slot limitations can only fit a 6A fuel scoop meaning slower refuelling time of the 128t fuel tank, thrusters are slightly undersized for her ship size and weight so planet approaches do need to be made with caution especially high G planets, lastly her size can limit her planetary approach locations meaning large empty area to put her down is required.
Anaconda //
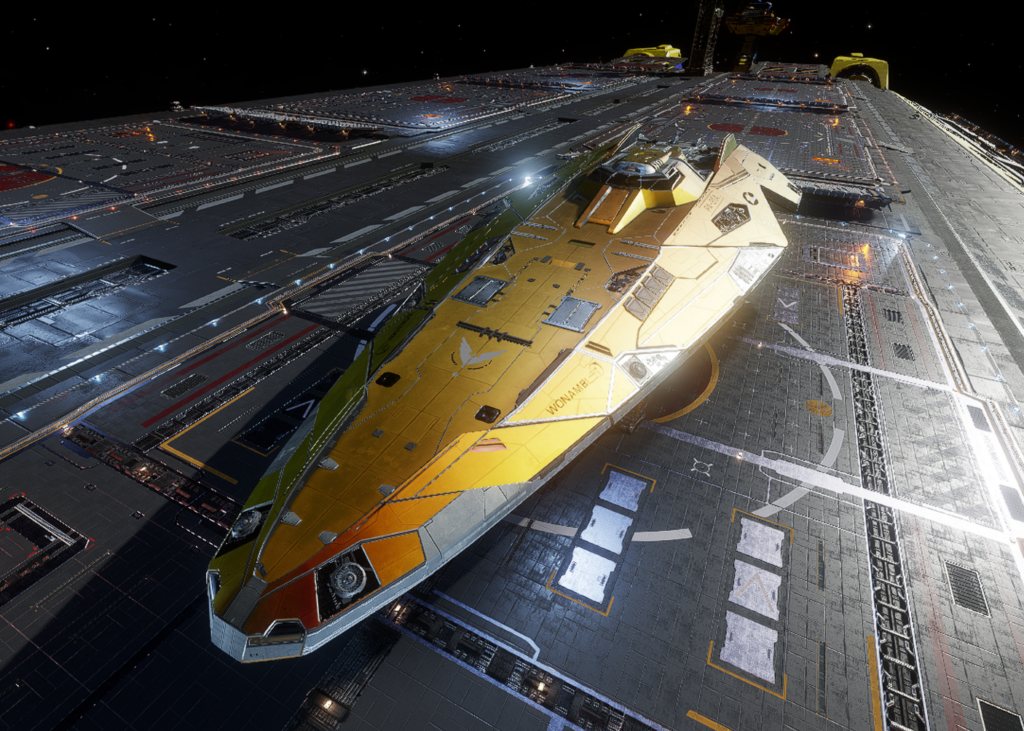
Anaconda
“Wonambi” by Anadromous
- 288m Cr
- Engineered
- 242 m/s boost
- 74.87 ly
Anadromous’s overview: This build requires a reasonable amount of engineering to make it all work, and there are some things you need to pay attention to. The power plant is tiny (Class 4), then overcharged to G5. Similarly, the thrusters are only 5D. The low-power thrusters are partially compensated for with a stripped down 5A distributor with G5 engine-focused engineering.
The FSD is A‑rated, and G5 engineered with increased range and mass manager. With a 5H Guardian FSD booster, the jump range with a full tank of fuel is 69.4 LY. With neutron boosting, you can achieve 277 LY. AFMU’s allow you to repair the FSD after neutron star boosting. Dual SRV’s give you redundancy in this essential piece of equipment for surface material collection, exobiological forays, and letting off steam when space madness bites.
A small shield protects from bumps and scrapes. When you need hull repairs (accidents happen), a small cargo rack gives space for the synthesis of a couple of repair limpets.
The 7A scoop in this build fills the tank in about 20 seconds. That scoop alone cost more than many fully-equipped and quite admirable exploration ships, but it is oh so worth it.
There are some things to be careful about with a ship built like this. With the standard fuel tank you are only going to get FOUR jumps before you need refuelling. Good thing you have that awesome scoop. KGBFOAM routing is critical. The low power thrusters mean you have little capacity to slow yourself down if you suddenly realize you are landing on a high‑G planet; the shield will probably keep you alive. Probably.
The last thing to note is the surface scanner module. This is a dual-engineered module that can be purchased from human tech brokers, featuring a massive increase in probe scanning radius.
Type-10 Defender //
Type-10 Defender
“HGC Surveyor Hawk” by Snoochy Boochy
- 487m Cr
- Engineered
- 274 m/s boost
- 52.72 ly
Snoochy’s overview: Snoochy prefers an open-concept view when he explores, and what better way to achieve that than with Lakon’s hauling line. This blueprint stretches the Type-10 to the very edge of “lightweight”, boasting a jump range of 49.99ly, maintaining boost capability. While this is a moderate jump distance compared to most vessels available… It’s key to remember one thing: you’re jumping a flying football stadium. Despite the diet, Surveyor Hawk manages to have space for a modest tool belt: an 8A fuel scoop to quench thirst quickly on long journeys, a 4A AFM for damages, a Guardian FSD booster, hangar space for two SRVs, a fighter hangar bay as well as cargo for the onboard Rescue limpet controller for emergency recovery. An oddball favourite in Snoochy’s Discovery lineup.
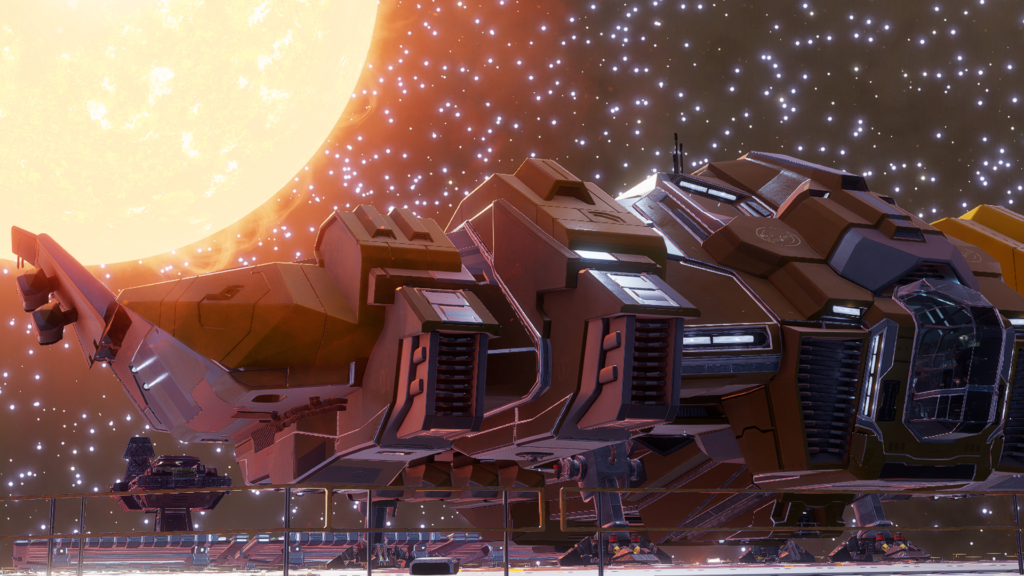
Imperial Cutter //
Imperial Cutter
“LPD Deep Messenger” by Snoochy Boochy
- 622m Cr
- Engineered
- 468 m/s boost
- 53.84 ly
Snoochy’s overview: Constructed for that SR1 Normandy feel during longer journeys, the vessel serves as a medium range surveying craft. This blueprint houses hangar space for two SRVs and one SLF, both necessary for navigating treacherous terrain in search of alien flora where Deep Messenger cannot navigate safely.
On board is a maximum sized 7A Frame Shift Drive graced by Felicity Farseer’s team and two AFMUs for neutron hopping, this vessel can reach upwards to a staggering 50ly despite it’s large size which yields a 200ly+ neutron-charged jump range. Deep Messenger has been used to discover Snoochy’s first Wolf Rayet stars and many black holes alike near the galactic center, and is the primary vehicle of exploration for CMDR Snoochy Boochy.