- 11m Cr
- Heavily engineered
- 851 m/s boost
- 45.54 ly
Pilots Trade Network Elite: Dangerous
Specialist Builds
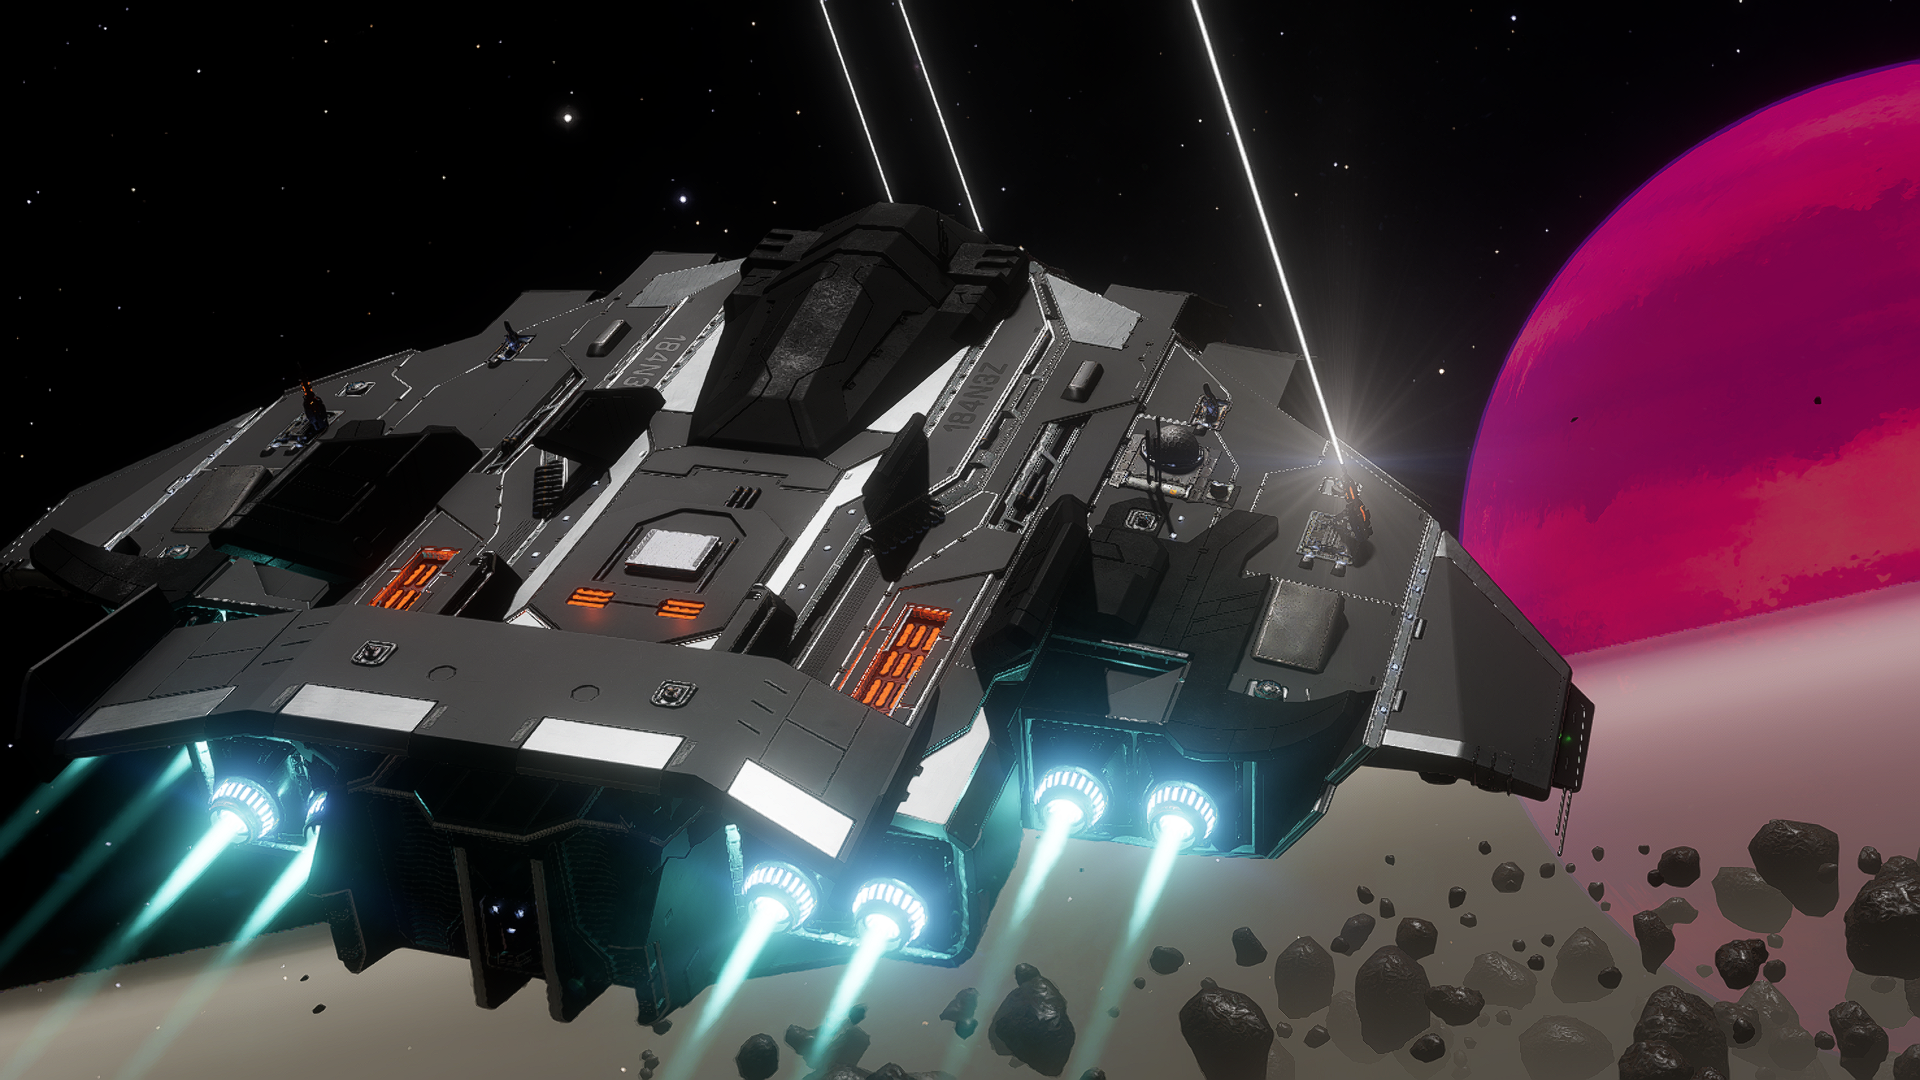
Imperial Courier //
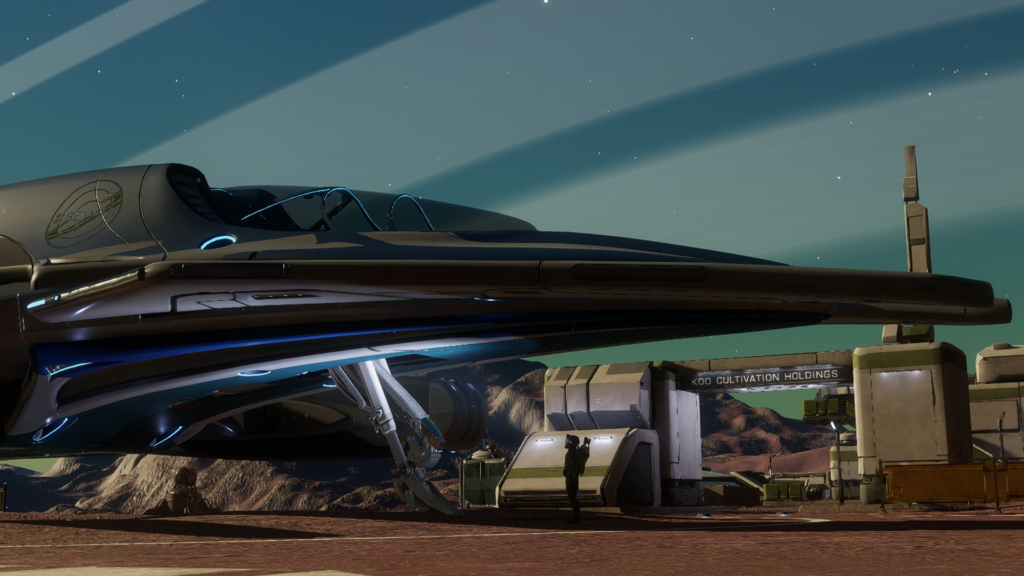
Imperial Courier
Endgame Fast Surface Mission Courier
Overview: This heavily-engineered Courier build is all about speed: it’s quick to get you where you’re going, and quick to get out of danger. It’ll easily outrun any NPC vessel, but thanks to its great base shields (the best of any small ship) it can take a few hits if needed too. This is a great ship for running a variety of surface missions or hopping from settlement to settlement for on-foot activities.
Strategy: Use its 825m/s boost to get quickly in and out of mass lock, and to escape pursuers or angry settlement guns. If escaping a hostile settlement, put 4 pips to SYS and two to ENG and boost horizontally as low as possible, aiming to put terrain between you and the settlement. The missile launcher or SRV can be used to take out scavengers but don’t get into a fight with anything with anti-ship capabilities!
Outfitting: The SRV bay can be removed to further increase speed to 851 m/s (boost).
The Imperial Courier requires the Imperial Navy rank of Master!
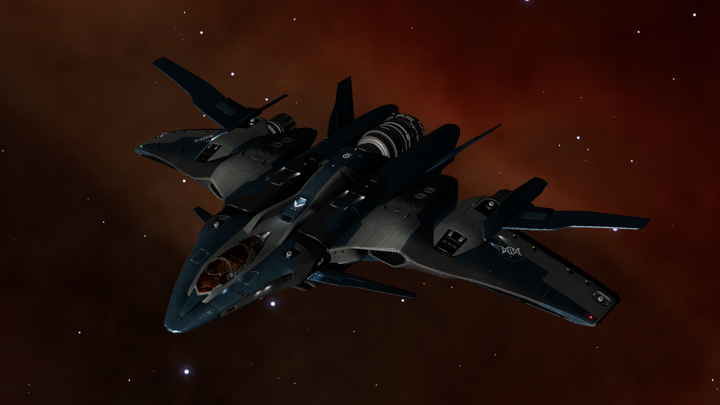
Imperial Clipper //

Imperial Clipper
Manufactured Materials HGE Clipper
- 61m Cr
- Moderately engineered
- 642 m/s boost
- 51.04 ly
Overview: The Clipper is beautiful, agile and fast, and its exceptional supercruise handling and large cargo capacity make it perfect for instance-resetting to farm High Grade Emissions sources. Plus it has a decent jump range.
Use: Stock up on limpets, then go HGE hunting for Manufactured materials.
Engineering: The level of engineering linked is for those who want to really eke out every inch of performance, but it’ll work just fine with no or limited engineering. Focus on the FSD and drives – you won’t be seeing any combat. For the FSD, use the Community Goal reward pre-engineered FSD if you can (purchased from Human tech brokers) and add Mass Manager to it.
The Imperial Clipper requires the Imperial Navy rank of Baron!
Anaconda //

Anaconda
Jumpconda Max
- 321m Cr
- Heavily engineered
- 165 m/s (no boost)
- 97.45 ly
Overview: This Anaconda loadout is minimalistic but features the longest single jump range in the game (for globally available ships). Ideal to reach a far away spot in the fewest jumps possible. This build is the result of minimizing weight and maximizing jump range at the cost of everything else! Note: uses the pre-engineered 6A SCO FSD available from human tech brokers. A regular 6A SCO FSD will give 89.77 ly range when engineered with Increased Range and Mass Manager.
Alternatives: for a slightly less memey, more usable build that sacrifices a little jump range for the ability to boost, minor shielding and a longer fuel range, see below.
Anaconda //

Anaconda
Jumpconda Lux
- 280m Cr
- Heavily engineered
- 261 m/s boost
- 87.03 ly
Overview: A more realistic jumpconda with some mod cons: the ability to boost (…barely), shields, assists, a DSS and a larger fuel tank. Useful as a bubble taxi or as a starter template for exploration. This build does not include the CG reward FSD but can be used with one for a nice jump range boost, if you have it.
Outfitting: Consider using the full 5C fuel tank if going into the unknown.
Mandalay //
Mandalay
Maxalay
- 37.7m Cr
- Heavily engineered
- 452 m/s boost
- 99.38 ly
⚠️The Mandalay is only available for Arx or in Odyssey.
Overview: The Maxalay is the newest build to make your way across the galaxy at speed. Featuring an record-holding 99.38 ly max jump range, it is a minimalist build focused on one thing – jumping as far as possible. This build uses the pre-engineered SCO FSD acquired from human tech brokers. It maximizes the use of undersized modules as well as engineering to decrease mass and increase jump range. Despite its minimalism, the Maxalay can boost, and also includes two AFMUs, flight assists, a pre-engineered DSS, and a 6A Fuel Scoop to refuel on the go (in under 7 seconds!).
When engineering, the FSD is most important, everything else is focused mostly on shedding excess weight.
Note: the Maxalay can only make a single max-range jump without refueling. Consider the full 5C fuel tank, or scoopable star routing, to avoid an emergency call to the Fuel Rats!
Alternatives: If you do not have a Titan Drive Component an engineered SCO FSD will get you a 91.53 ly jump range. And if you have not yet unlocked Guardian FSD Boosters, this build without it will reach 89.31 ly.
Python //
Python
Robigo Python
- 63m Cr
- Engineered FSD*
- 300 m/s boost
- 34.32 ly*
Overview: Specially tuned for the precise requirements of Robigo Mines tourist missions. The FSD can be replaced with an Engineered FSD V1, purchased from Human Tech Brokers with a small handful engineering materials, which doesn’t require any Engineer unlocks and costs less than engineering an FSD from scratch. Amount of passenger cabins: 48 busineess + 48 economy class.
Alternatives: For the Robigo route to be viable you need at least a 30ly jump range. The only alternative to engineering is using a Guardian FSD Booster.
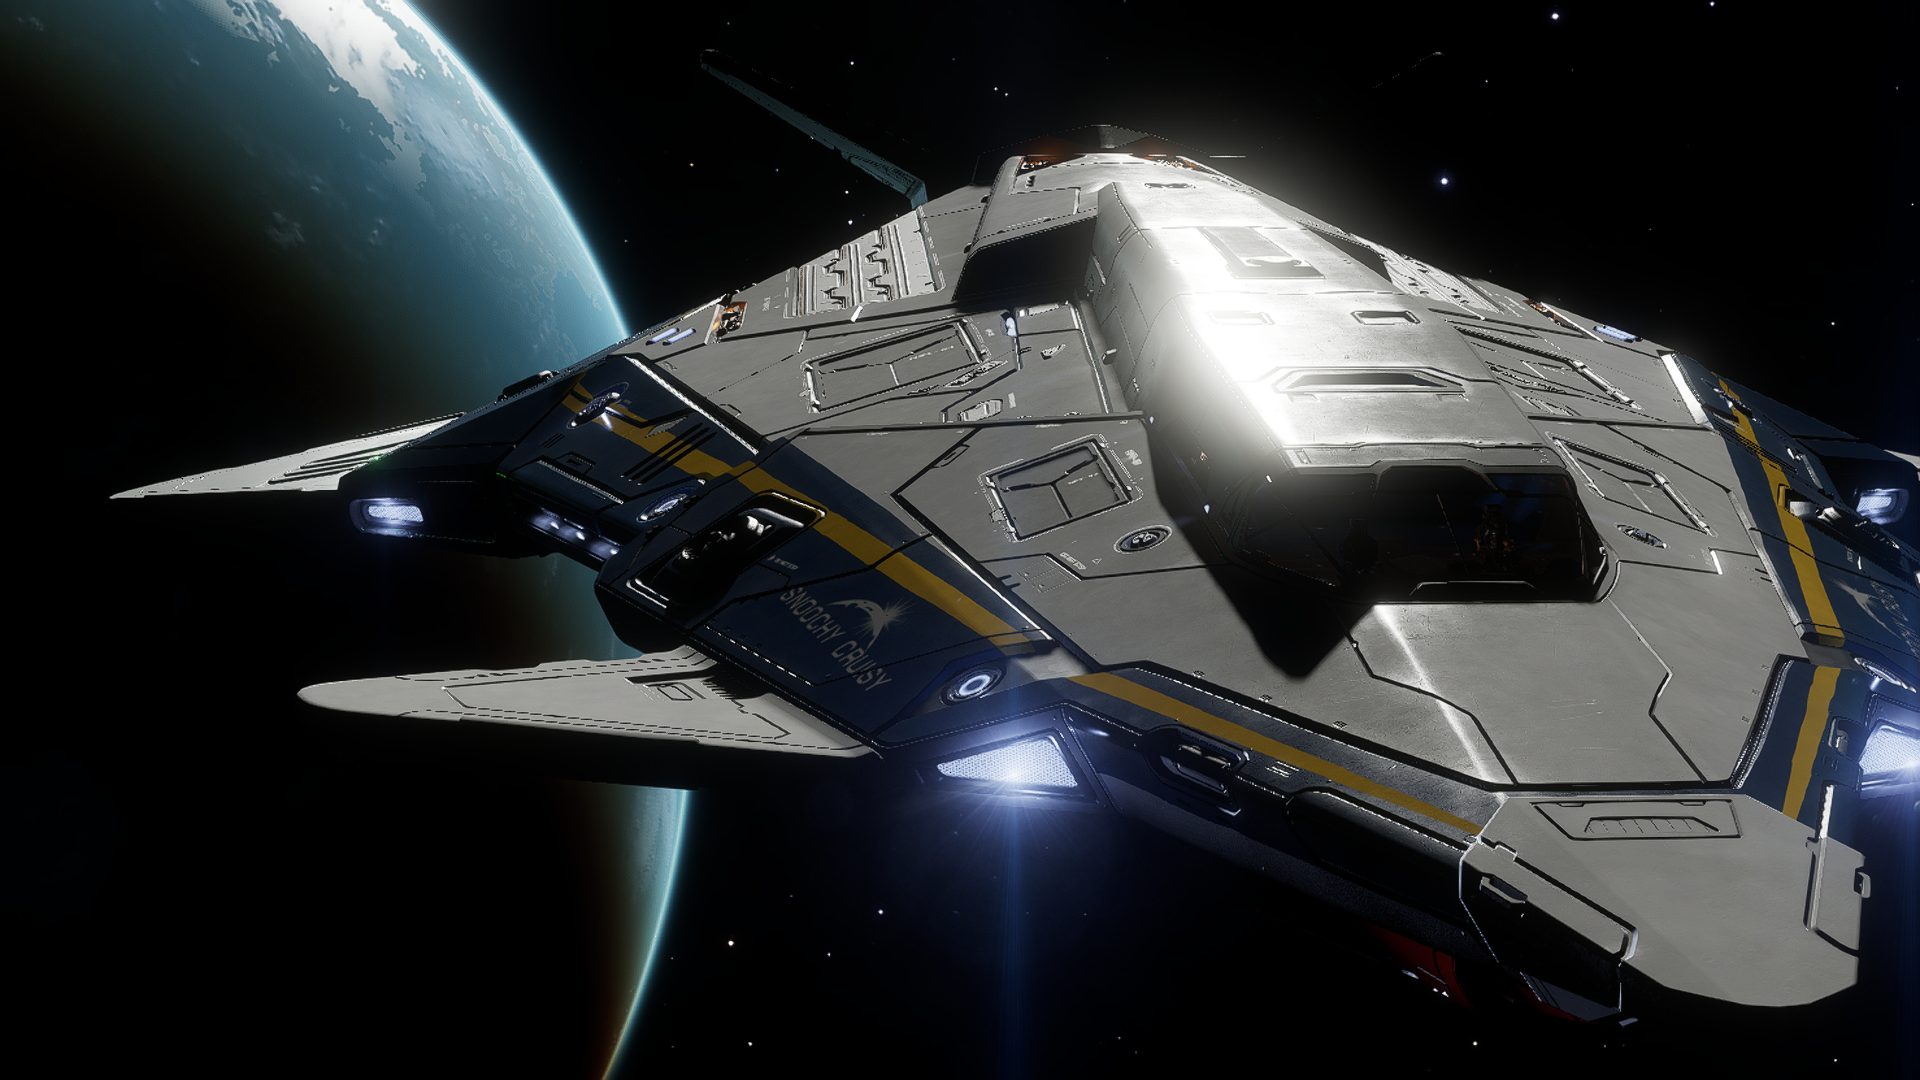
Beluga Liner //

Beluga Liner
Evaculuga
- 113m Cr
- No Engineering
- 283 m/s boost
- 36.81 ly
⚠️Evacuations are no longer available after the end of the Thargoid War
Overview: This Beluga brings a lot of cabins to evacuate people from burning stations. The vast amount of heatsinks will allow the CMDR to keep a cool head while maneuvering in and out and the shield generator will protect the ship from debree. Helping to evacuate people from stations is a good way to gain reputation with the imperial or federal navy and to up your ranks in their lines (depending on the faction controlling the station). With each trip you will manage to fit 168 people into the seats in your outfitted economy class. Without upgrading the Jump range you might as well consider using another ship for flying over and having the EVACULUGA transfered over to a nearby functional station.
Burning stations are the result of thargoids’ or factions’ attacks and as such are not available at all times. GalNet articles will mention them in their report about events in our galaxy. Inara will list them as well.
Alternatives: Upgrading the FSD and Thrusters to A grade and possibly engineering them is a good option but not needed. There are enough heatsinks to get yourself through the mailslot witout haste.
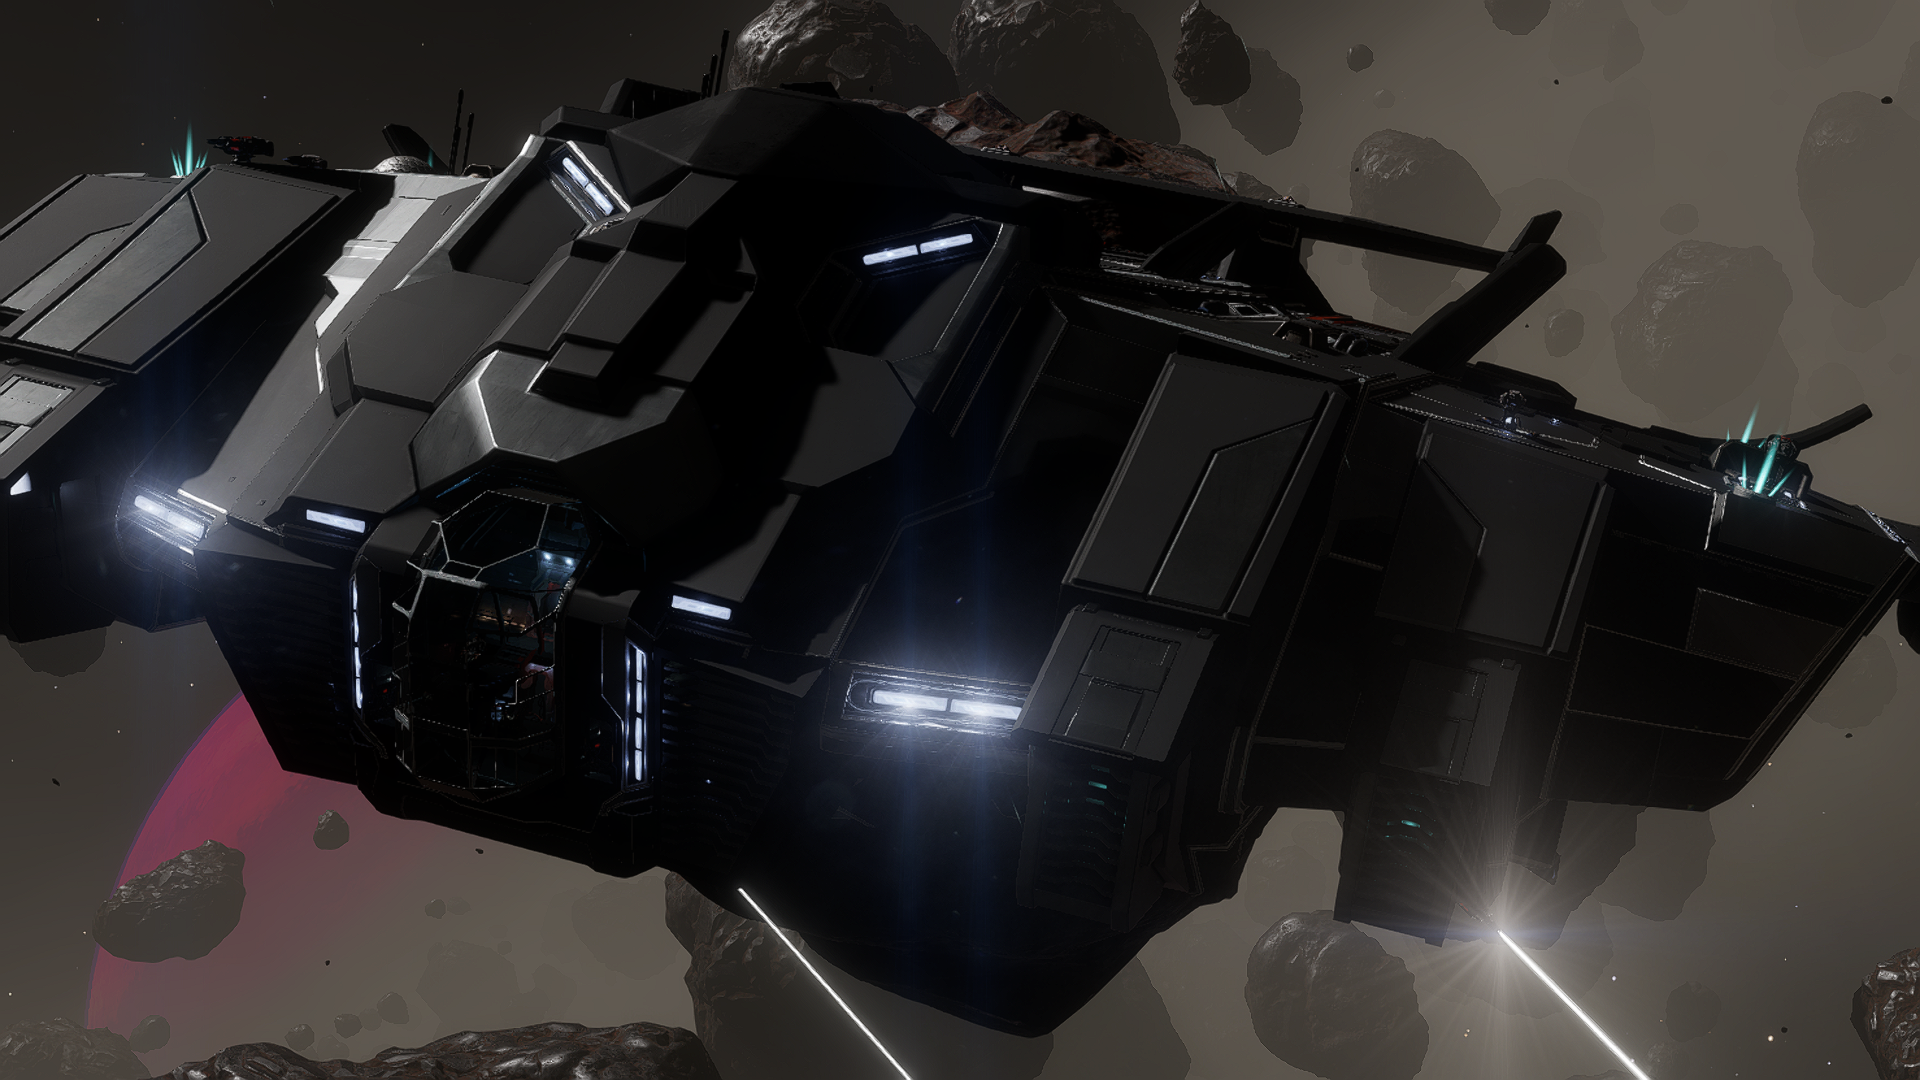
Type-10 Defender //

Type-10 Defender
AFK Type 10: No engineering
- 691m Cr
- No engineering
- 220 m/s boost
- 17.53 ly
Overview: Type-10 Defender specifically for use with AFK Massacre Farming. This version is unengineered.
Type-10 Defender //
Type-10 Defender
AFK Type 10: LOW EngineerING
- 351m Cr
- Some Engineering
- 213 m/s boost
- 19.11 ly
Overview: Type-10 Defender specifically for use with AFK Massacre Farming. This version uses the recommended engineering.
Engineering: You don’t need a lot of engineering to be successful. This build by CMDR P|-|r34k3r will be more than sufficient 95% of the time, and you’re extremely unlikely to encounter any rebuys. It only needs the Guardian Shield Reinforcement Package (GSRP) unlock, plus 3 engineers:
- Felicity Farseer: Power Plant
- The Dweller: Power Distributor & Lasers
- Lei Cheung: Shield & Boosters
If you don’t have the GSRPs unlocked, you can substitute them with Hull Reinforcement Packages, but with a noticeable hit in survivability.
Note: Pips should be set to 4−0−2
Type-10 Defender //
Type-10 Defender
AFK Type 10: Max Engineering
- 739m Cr
- Engineered
- 312 m/s boost
- 26.66 ly
Overview: Type-10 Defender specifically for use with AFK Massacre Farming. This version uses the maximum possible engineering. Complete overkill, but if you want the best… this is it.
If you wish to use an alternative “Min AFK” build to the one listed above, that is more expensive (624M), but more flexible to engineer unlocks and has a direct upgrade path to this one (doesn’t require changing components or engineering), you can use the following: (EDSY, Coriolis)
Note: Pips should be set before deploying your hardpoints
Preferred: 3.5 – 0 – 2.5 (Sequence: Down, Left, Right, Right, Right, Up, Left, Left)
Alternative: 3−0−3.